I have a post up at the Picket Fence Studios blog today - here's a sneak peek:
Thanks for visiting :)
I have a post up at the Picket Fence Studios blog today - here's a sneak peek:
Thanks for visiting :)

I have a wrap card to share today for Paper Rose Studio.
For this card, I began by creating the wrap, using the corner die on some pearl cardstock from my stash. I then created a 5inch x 5inch white card, and cut a slightly smaller panel of dark pink cardstock for the front. I stamped some leaves in a circle onto the dark pink panel using Versamark and then clear embossed them. I then adhered the card inside the wrap. I stamped the sentiment onto a circle of the pearl cardstock with brown Versafine ink and clear embossed that as well. I adhered the circle onto a piece of brown grosgrain ribbon from my stash wrapped around the card, so that the ribbon can be removed by the recipient to open the card within.
My friend, Michelle Liimatainen of Wild Willow Art sent me some acrylic pour panels a while ago. I've been hoarding them, but I finally decided that they needed to go onto some cards. Here's one:
My friend, Sharyne, bought me some beautiful handmade paper from Japan many years ago. During my current craft room clean up and purge, I came across this paper and immediately took the opportunity to interrupt my cleaning efforts and made a few cards. The sentiment stamps I used are both discontinued, sadly.
I'm doing a big clean up and purge in my craft room, and I'm chucking out so much stuff, but once in a while, I come across something that I have to save. I had a box of little things for cards - flowers, die cuts, stamped images - and most of them went in the bin, but not these little squares. I no longer own the stamp I used for the blue flowers (it was from Hero Arts, but it's discontinued), but I remember the technique, taught to me by Sue Madex.
I paired these squares with a stencil from Picket Fence Studios and a sentiment from The Ton. I also put it all on a card base made from my favourite colour cardstock, Ballet Blue from Stampin Up, which they discontinued years ago (how could they??)
One of my favourite techniques is to add white die cuts over an alcohol ink on yupo background - this technique came to mind as soon as I locked eyes on this gorgeous Lavender Frame Coverplate die.
For a bit more interest, I added some pink foil over the alcohol ink.
Also, do you see? We now have dies to match the More Fancy Sentiments stamp set! Woo hoo!
Today, I am the guest of Gale Thompson of the Darby Creek Diaries. She asked if I would like to be her guest on her YouTube channel, so I made this card.
All the products I used are linked below. If you want to see how I made this card, please visit Gale's YouTube channel!
Welcome to a new challenge at Fusion!
I discovered a couple of weeks ago that my stash of birthday cards was particularly depleted, so I used a technique shown in an Online Card Class last year by Kristina Werner to make a bunch of cards super quickly! I pulled out patterned papers from some 6x6 packs in my stash (all now discontinued), making sure that I chose papers from the same pad for each card so that I knew they would match (I'm not good at putting patterned papers together!)
Using this technique, you get 3 cards from the 3 patterned papers - you just mix them up to get 3 layouts - so I made 24 cards in total!
I have a simple thank you card to share today for Paper Rose Studios.
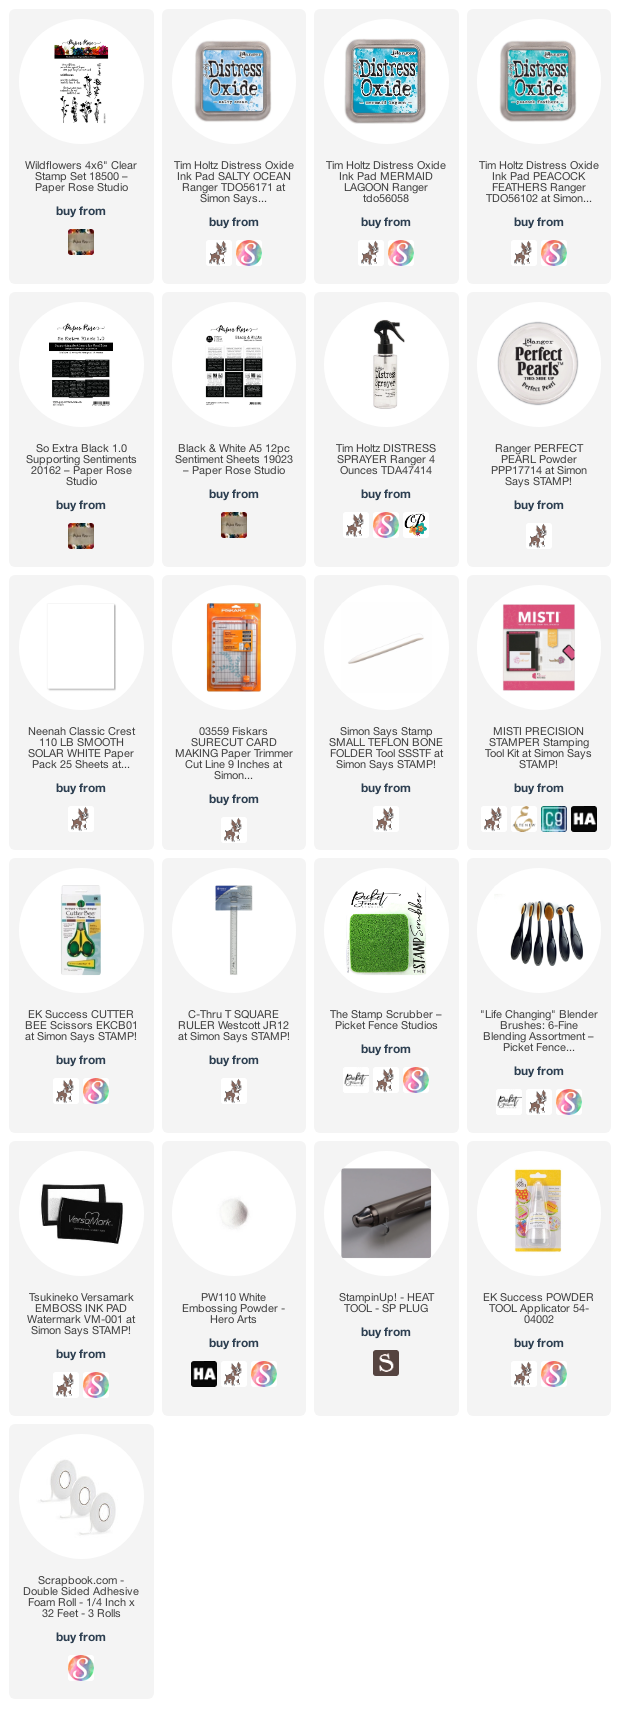
I stamped the wildflowers along the bottom edge of my card with Versamark, and then white embossed them. I used blending brushes to add Distress Oxide inks over the embossed flowers, and then sprayed and splattered some Perfect Pearls powder mixed in water over the ink. I finished with a printed sentiment on some foam adhesive.
I have a card for the A Blog Named Hero Facebook page today, Caseing this card by Seeka.
I ink blended a rainbow on a white card base, sprayed and splattered some Perfect PEarls in water over the rainbow, and then adhered the cover die from Hero Arts over the top. I finished with a white embossed sentiment from Hero Greetings Cheeky Birthday.It's release day at Picket Fence Studios, and this release is a DOOZY! It is HUGE, and there are some AMAZING stamps and dies!
In today's post, I am showcasing some of the amazing stencils in this release. All of the products in the release are listed below.
For this next card, I made a slimline card using the Cloud Coverage stencil and the Happy Birthday word die.
And finally, I used the Wave Sun Stencil on this card, using three new Paper Glaze colours - Yellow Primrose, Pink Carnation and Mint Hydrangea. The sentiment is from Wild Peonies.