Today, I'm sharing two cards I made using the Mugs and Kisses collection from Spellbinders.


Thanks for visiting :)

Today, I'm sharing two cards I made using the Mugs and Kisses collection from Spellbinders.
Thanks for visiting :)
Today, I'm sharing a rainbow birthday card for Paper Rose Studio. I started by creating the rainbow background, using Alcohol Pearls on Yupo. I then used the Folk Flowers stencil to add some white texture paste to the background. I finished with a stamped sentiment that I white embossed onto black cardstock.


Thanks for visiting :)
Today, I'm sharing a card using multi-coloured inking over the Folk Flowers stencil from Paper Rose Studio.


Today, I'm sharing a card I made using stamps and a stencil from Paper Rose Studio.
To get the semicircle, I traced around half of a saucer, and then cut by hand so I could fussy cut around the floral image. I used white ink to ink blend over the stencil on the peony background, and I used Copic markers to colour the floral image.


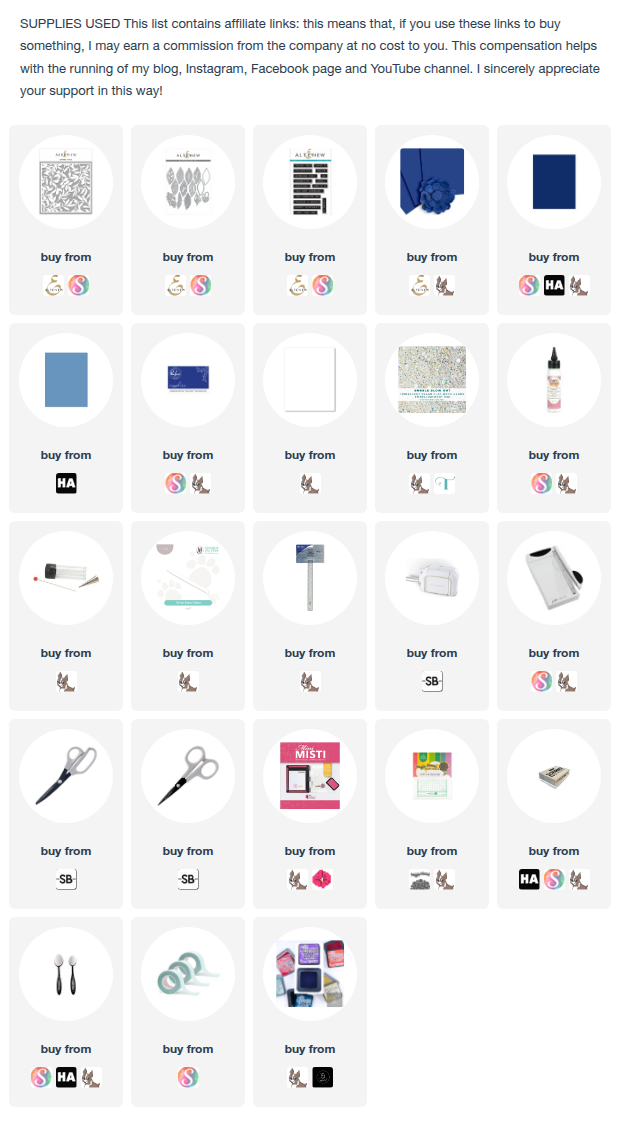
For the Altenew Educator Certification Program Level 2, there were two parts. Part two asks participants to create an altered item or upcycled project. I found this very plain box that I had kept (because who can throw away a good box?? Am I right?) and decided to decorate it.
I was inspired by the classes "Beautiful details", "Color your day" and "Masking unleashed".

First, I measured the box and cut a panel of white cardstock to wrap around the lid. I stenciled and ink blended over the panel with three different blue inks, and scored the panel so it would fit around the lid neatly.

I adhered the panel to the box and then decided to add some details with a fine tip black marker. (Yes, I was THAT stupid that I didn't add these details until AFTER I'd adhered it to the box.)

I die cut a bunch of leaves from blue cardstocks and from vellum. I adhered each cardstock leaf to a vellum leaf, and arranged them on top of the box, before adhering them with liquid glue.

I finished the box with a sentiment from Label Love and some dew drop embellishments.


Thanks for visiting :)
Compensated affiliate links may be used - these are at no extra cost to you. I appreciate your support!
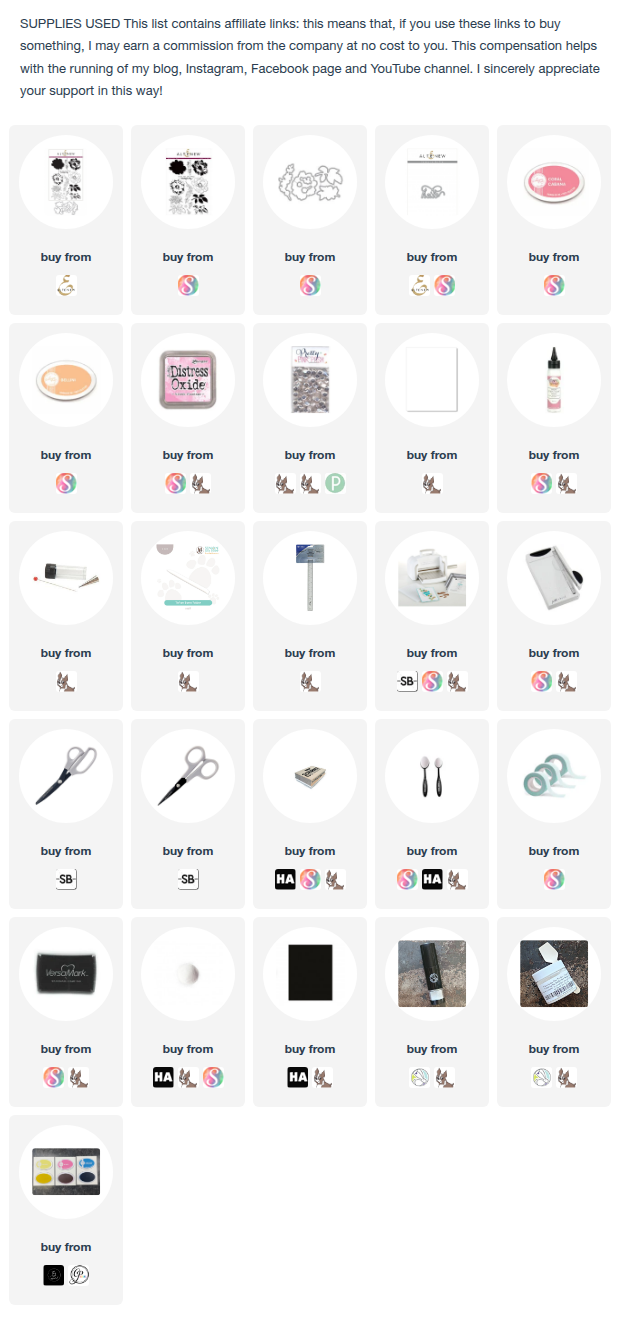
Today, I'm sharing a card I made for the Altenew class Beyond Basic Backgrounds. I created my own stencil using cardstock and coordinating dies, before ink blending in a pink to pale orange ombre, then stamping the coordinating dies in the ink blended spaces, and white embossing the images. I finished with a die cut sentiment that I ink blended in the same colours, but more bold!


Compensated affiliate links may be used - these are at no extra cost to you. I appreciate your support!

I started by stamping the floral bouquet from Lovely Rose Peony, cutting it with the coordinating die and and colouring it with the coordinating stencils. I used pinks for the petals and grey for the leaves.

I cut out the Xs and Os from Hero Arts Peony cardstock and stamped and white embossed the happy birthday sentiment onto Concord & 9th Wildberry cardstock for all 4 cards.


Masculine set:

For the masculine cards, I created two stenciled panels using the Modern Circles layering stencils and inks in blue, aqua and grey.


Each of the cards had one or two panels, strips of Azurite cardstock, Xs and Os also from Azurite, and a happy birthday sentiment from Label Love stamped in royal blue ink.


Thanks for visiting :)