Showing posts with label Handmade flower. Show all posts

Saturday, 26 April 2014

Time Out challenge

This week's Time Out challenge is to CASE a card made by Virginia Lu.   I have done a fairly faithful case - watercolour background, patterned paper strip, white embossed sentiment, handmade flower.  My own twists are the colour, the placement of the twine, and the makeup of the flower (I punched a flower, added a folded half-doily behind and a flower shaped bling on top.)
Here's Virginia's card - you can see that I followed her layout fairly faithfully.
 Thanks for visiting - have a great day :)

Friday, 17 January 2014

Fusion #2

Hi, all - there's a new challenge out at  Fusion card challenge today - check it out!

This is what I did, based on the photo inspiration:
I hope you can see in the photo, but I used a PTI woodgrain impression plate for the background. I then inked with Antique Linen Distress ink.  The sentiment and banner are both from Simon Says Stamp.  Two of the flowers are from Creative Memories, and the musical flower was made from sheet music and given to me by my dear friend, Stella - thanks, Stel!! The black buttons are Basic Grey. 
Make sure you visit the Fusion blog and join in on the challenge!

Friday, 2 August 2013

Reduce, reuse, recycle!

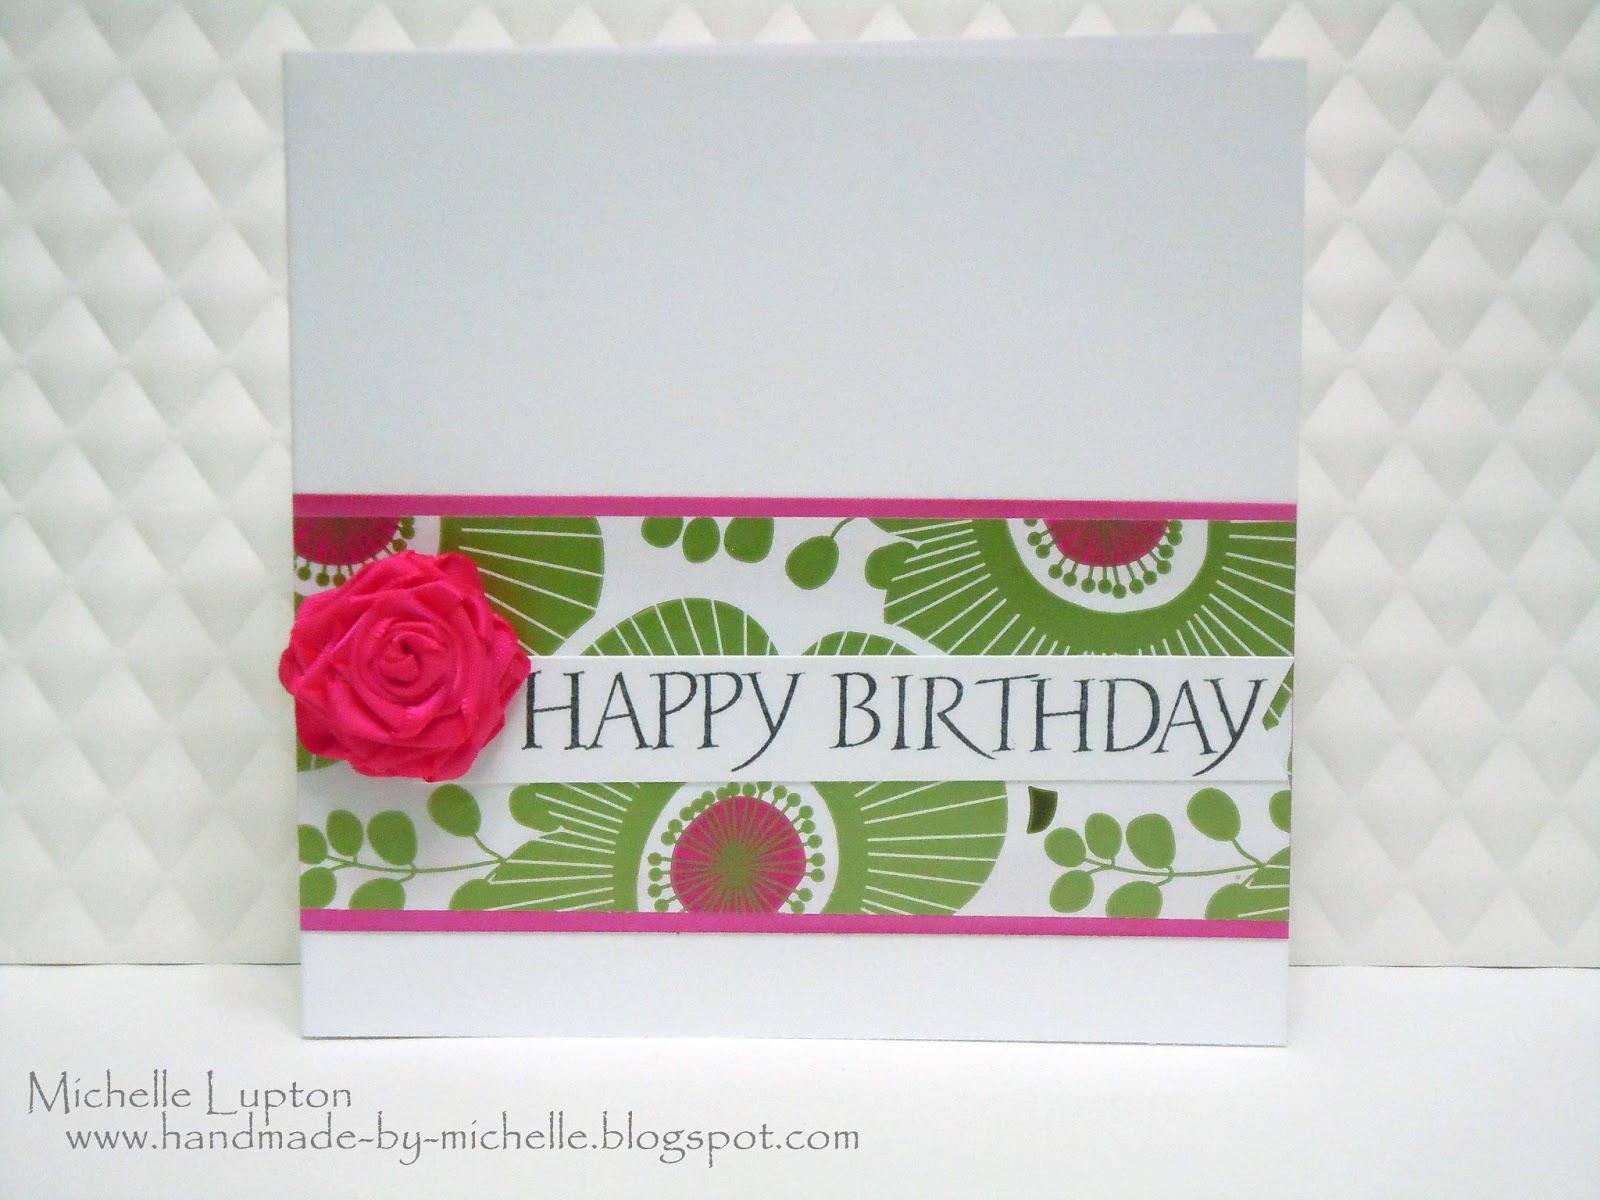
The challenge at A Blog Named Hero today is to recycle - to reuse something that has already been used (other than normal cardmaking supplies)! It was my birthday last month, and a friend of mine gave me a lovely scarf wrapped in white paper, with a piece of wrapping paper in a band around it, and some pink ribbon tied in a bow - it was too pretty to throw away, so this is what I came up with:


 This was what I started with (except it was a longer piece of ribbon)

I would have had to iron the ribbon to use it, as it was quite wrinkled in places, but getting the iron out just for a piece of ribbon seemed excessive, and remembering to iron the ribbon when I had the iron out for something else requires a level of memory that I don't seem to have anymore, so I thought I'd see if I could make a rose out of the ribbon:
I think I need some practice doing this - I ended up with entirely too much hot glue on my fingernails! Have you ever made ribbon roses? I really enjoy making my own flowers for cards, and have tried a few techniques (I did a photo tutorial for a different type of ribbon flower a couple of years ago - you can find it HERE) - what's your favourite way to handmake your own flowers?

I didn't have a piece of pink cardstock to match the ribbon, so I swiped some white cardstock with Picked Raspberry Distress Ink.  The sentiment is from HA Birthday Sayings.

I hope you find something to recycle into a card for our challenge - as always, there's a voucher from our incredibly generous sponsor, Simon Says Stamp


Saturday, 2 March 2013

1 card, 5 challenges

I've been sick this week, with a cold and a gastro bug at the same time - ugh.  I'm really tired because I haven't eaten much for 3 days, but I still wanted to participate in some card challenges before I go back to work at the Uni this week (and a lot of my free time will disappear to marking).  I managed to get 5 challenges done in one card - nothing like multitasking! :)

I used Hero Arts "Lattice" (white embossed) on the background and Hero Arts "Envelope Pattern" stamped in HA Soft Pink Shadow Ink on the panels, then rounded the corners with my We R Memory Keepers Corner Chomper before attaching with dimensional adhesive. The sentiment is from a HA Clear set, "All Occasion", which I stamped in Memento "Tuxedo Black" Ink.
For the flower, I punched a circle from cardstock and put sticky strip around the edge to attach the pleated ribbon from Stampin' Up, then attached a SU Antique Brad in the middle.  I punched the leaves from the edge of a circle of SU Wild Wasabi cardstock, and stamped them with the Envelope Pattern background stamp as well. 
I'll be submitting this to CASual Fridays "Wallpaper"CASology "Circle", A Blog Named Hero "Just Make Your Own", CAS(E) this Sketch #17, and Simon Says Stamp Challenge - "Anything Goes!"


I'm hoping to be feeling much better in a couple of weeks - looking forward to taking part in a new Online Card Class - Pattern Play - I have more patterned paper than I can cope with, so I'm looking forward to making a dent in the stash! :)

Thursday, 7 February 2013

Tuesday Trigger: Cross my Heart

I've had a few days off from the blog - unusual for me during January and February (my work teaching at Melbourne Uni keeps be much too busy from March onwards to be blogging every day, more's the pity).  I've been busy making invitations for a friend's wedding - 80 of them!  But they're all done now, so I can return to normal programming of participating challenges when one catches my eye.

This week's Moxie Fab world Tuesday Trigger certainly caught my eye - I thought about actually doing a cross-stitch of the heart, but cross-stitch is a craft that I've tried and done dreadfully, so I decided to fake it with hand drawn crosses. 
 Here's the Trigger photo, "Cross my Heart"

 I hope you're having a lovely day :)

Sunday, 15 July 2012

Stretch your Stamps - Day 6, card 4

In class today, I loved the way Jennifer McGuire used her butterfly diecut to have a butterfly show on the front of the card, but be inside the card, AND stick out the side of the card all at the same time!  I wanted to try her technique, but after making quite a few butterfly cards this week, I'm a bit butterfly'ed out. So I had a look through my stash of diecuts (which is not incredubly huge), and I don't have a huge number of dies that specifically fit stamps (other than butterflies), but I do have the Simply Jane set of stamps, dies and patterned paper from Papertrey Ink, so I used all three and came up with this:
I think this would make a good Valentines Day card or, even better, a wedding anniversary card. 

In this close up, you can see the rolled paper flower I made from the same paper on the card front.  You can also see the detail on the frame - I've had this gold cardstock for many years - my lovely brother-in-law, Paul (who is a printer) got me some, but I'm down to my last few sheets, and I can't seem to find it in any shops (and Paul can't get any more, either), so I'm rationing it.  To give it a bit of texture, I just stamped the detailed frame stamp (from Simply Jane) onto the diecut frame in Versamark ink, then clear embossed it.  You can see in the pic how lovely and shiny the cardstock is - perfect for a gilt frame.
 And, inside, this is what the diecuts look like:
 Thanks for visiting :)

Saturday, 23 June 2012

Pink CAS flower

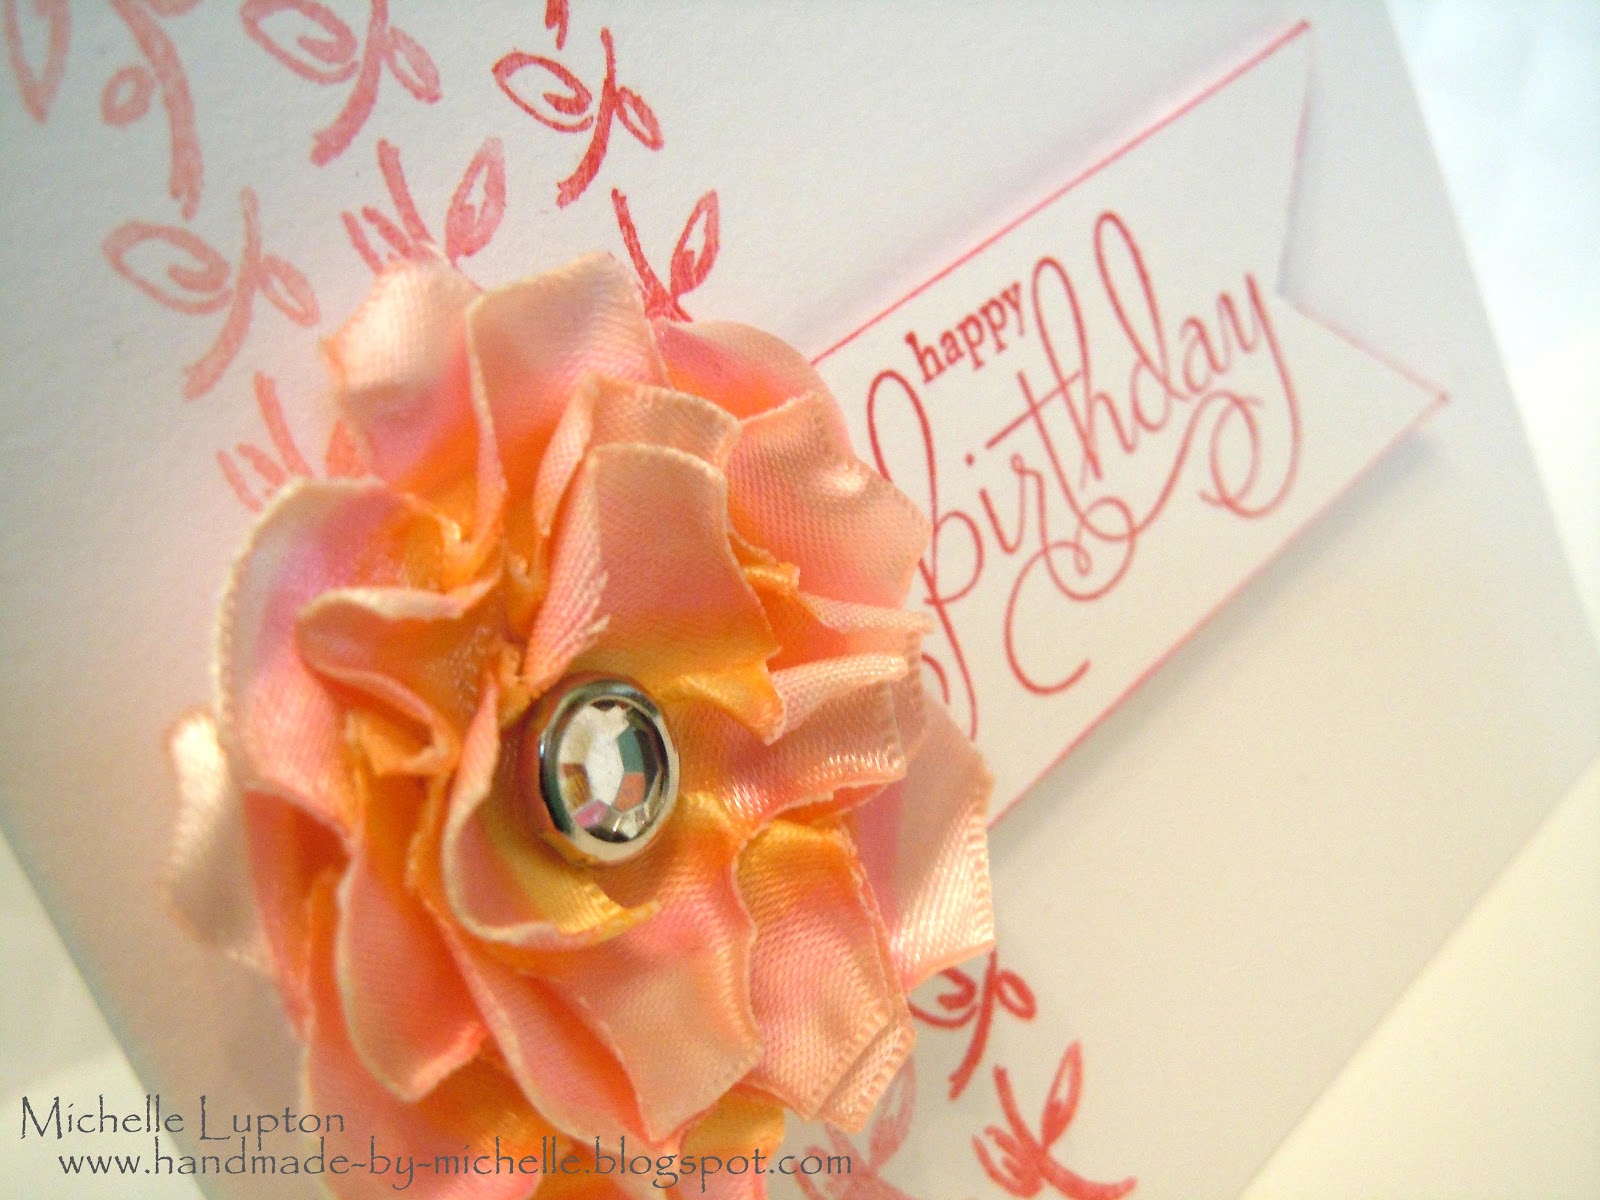
Another card for CAS-ual Fridays Pretty in Pink Challenge :)   For some reason, the flower has come out a bit more coral than pink in the photo - it's actually quite pink, and the sponging around the edges is done with Worn Lipstick Distress ink.


I actually used the left over die cuts I had from this card I made for a CASE study challenge in April:
The 2nd layer (next to the red) is the colour I used in today's card - the colour is much more true to life in this photo.


More pink from another stuff up

Here's another card I made today that started as a mistake - I had a card with a circle cut out of the front, but I smudged the stamping of the sentiment (see the finished, unsmudged card here).  D'oh!   So I decided to cover the front of the smudged one with some patterned paper and make a girly-girl card :)
Will submit this card to CASual Fridays Pretty in Pink challenge  - how could I not!?!!

Friday, 22 June 2012

Pink for CASual Fridays

I haven't been at my craft desk in a while - I had SOOOOO much marking to do, and then my craft room reverted to a bedroom for a few days (for nieces and nephew to stay over), which required the removal of a HEAP of my crafty stuff and the folding up of my desk, and then this week I've had 3 days off work (yay!), but have had a headache since Monday. Ugh.  Haven't been able to get up the energy to do pretty much anything. 
However, I was really missing participating in some challenges, so I've made a couple of cards tonight for submission in a few of this week's challenges out there in blogland.
I made this card with CASual Fridays' Pretty in Pink challenge in mind.  I'll also be submitting it for this week's "Less is More" challenge - Something Shiny.  The papers I used are all from Basic Grey, and the zigzag stitch is from a Hero Arts set.  I used Distress stickles in the centre of the flower, and coloured the SU brad with a pink Copic marker. 
 The flower was made using a technique I learned from Sue Madex - you can visit her blog here.

Sunday, 22 April 2012

Thanks, Jane Austen

The stamp set, paper and matching die set, Simply Jane from PTI, just asks for this style of card.  I don't really see myself using these stamps and dies to make a CAS card! LOL!
I thought I'd try a technique shown in "A Cut Above" cardmaking class this week - die-cutting fabric.  I made a rolled rose with fabric, but I glued the fabric to cardstock first, as it is quite thin material.  I also used a wafer-thin die, and it didn't cut the fabric very well, even after running it through the Big Shot a few times, so I just cut the little fibres that were keeping it intact with my scissors. 


Saturday, 31 March 2012

Clean and Simple FTL 183 meets Moxie Fab

This is my 2nd post for today, but it's a bit of deja vu - another card that will be submitted for a Clean and Simple challenge (#183) and to Moxie Fab's DIY Embellishments Challenge.  I'm also submitting this to LilyPad cards Flower challenge and to  Moxie Fab's Don't throw it Away Challenge - let me explain!

The flower on this card was made using ribbon from a t-shirt - you know when you buy a new top, they often have bits of ribbon sewn into the shoulders, so that you can loop it over a coat hanger so it won't slip off?  Well, I generally keep my t-shirts folded in a drawer, so I cut the ribbon loops out and use them on my cards!  I've been doing this for years now, but this is the first time I've used the ribbon for a flower.   I made the flower by just pleating the ribbon onto a Gluber, and adding a SU antique brad in the centre.

Thanks for visiting :)

Clean and simple meets Moxie Fab

I am back in the craft room this weekend - I finished all the marking I needed to do (will get another huge pile of marking to do after Easter - boo hiss).  I just wish I could shift this cold - my head feels heavy and my brain is fuzzy.
 For this card, I wanted to use this week's Clean and Simple sketch #184, but I wanted to stamp, not use punched scallops.  I also decided to join in with Moxie Fab's DIY Embellishments challenge - for a tutorial on how to make a flower like mine, see this blog post of mine from July last year.  The only thing I did differently was I coloured in the white ribbon with pink and peachy colours before making the flower.
Also submitting this to LilyPad Cards Flower Challenge

I hope you're having a great day - thanks for visiting :)

Monday, 27 June 2011

Summer card camp has begun!!!

The online Summer card camp, run by Kristina Werner and Jennifer McGuire, has begun! Woo hoo!

The colour combo was posted at midnight Eastern Time in the States, which was 2pm here in Melbourne- when I was at a primary school teaching kids in prep, grade one and grade two about minibeasts! LOL!

Anyway, after work, I got home, had dinner, checked my email and immediately got card making!

Here's the colour combo

Purple, pink, sky blue, orange and white - OK then.......

Here's my card.


All the coloured card was from my box of offcuts, so I honestly have no idea what brand or colours they are - all I know is that they're purple, pink, sky blue, orange and white.  I made the large flower using some different sized flower punches , and a brad in the middle. I read about the flower technique on Joanne Leddy's blog - however, I used punches from EK Success (I think they're called "retro flower").  The blue has been embossed using a Stampin' up embossing folder, and the sentiment is a Penny Black stamp.