Showing posts with label Glitter. Show all posts

Monday, 27 June 2022

Masculine birthday card for WOW! embossing

Hello! I've thoroughly enjoyed being a guest designer for WOW! Embossing this month, but today is my last post! Today, I'm sharing a masculine birthday card with a bunch of different embossing glitters.
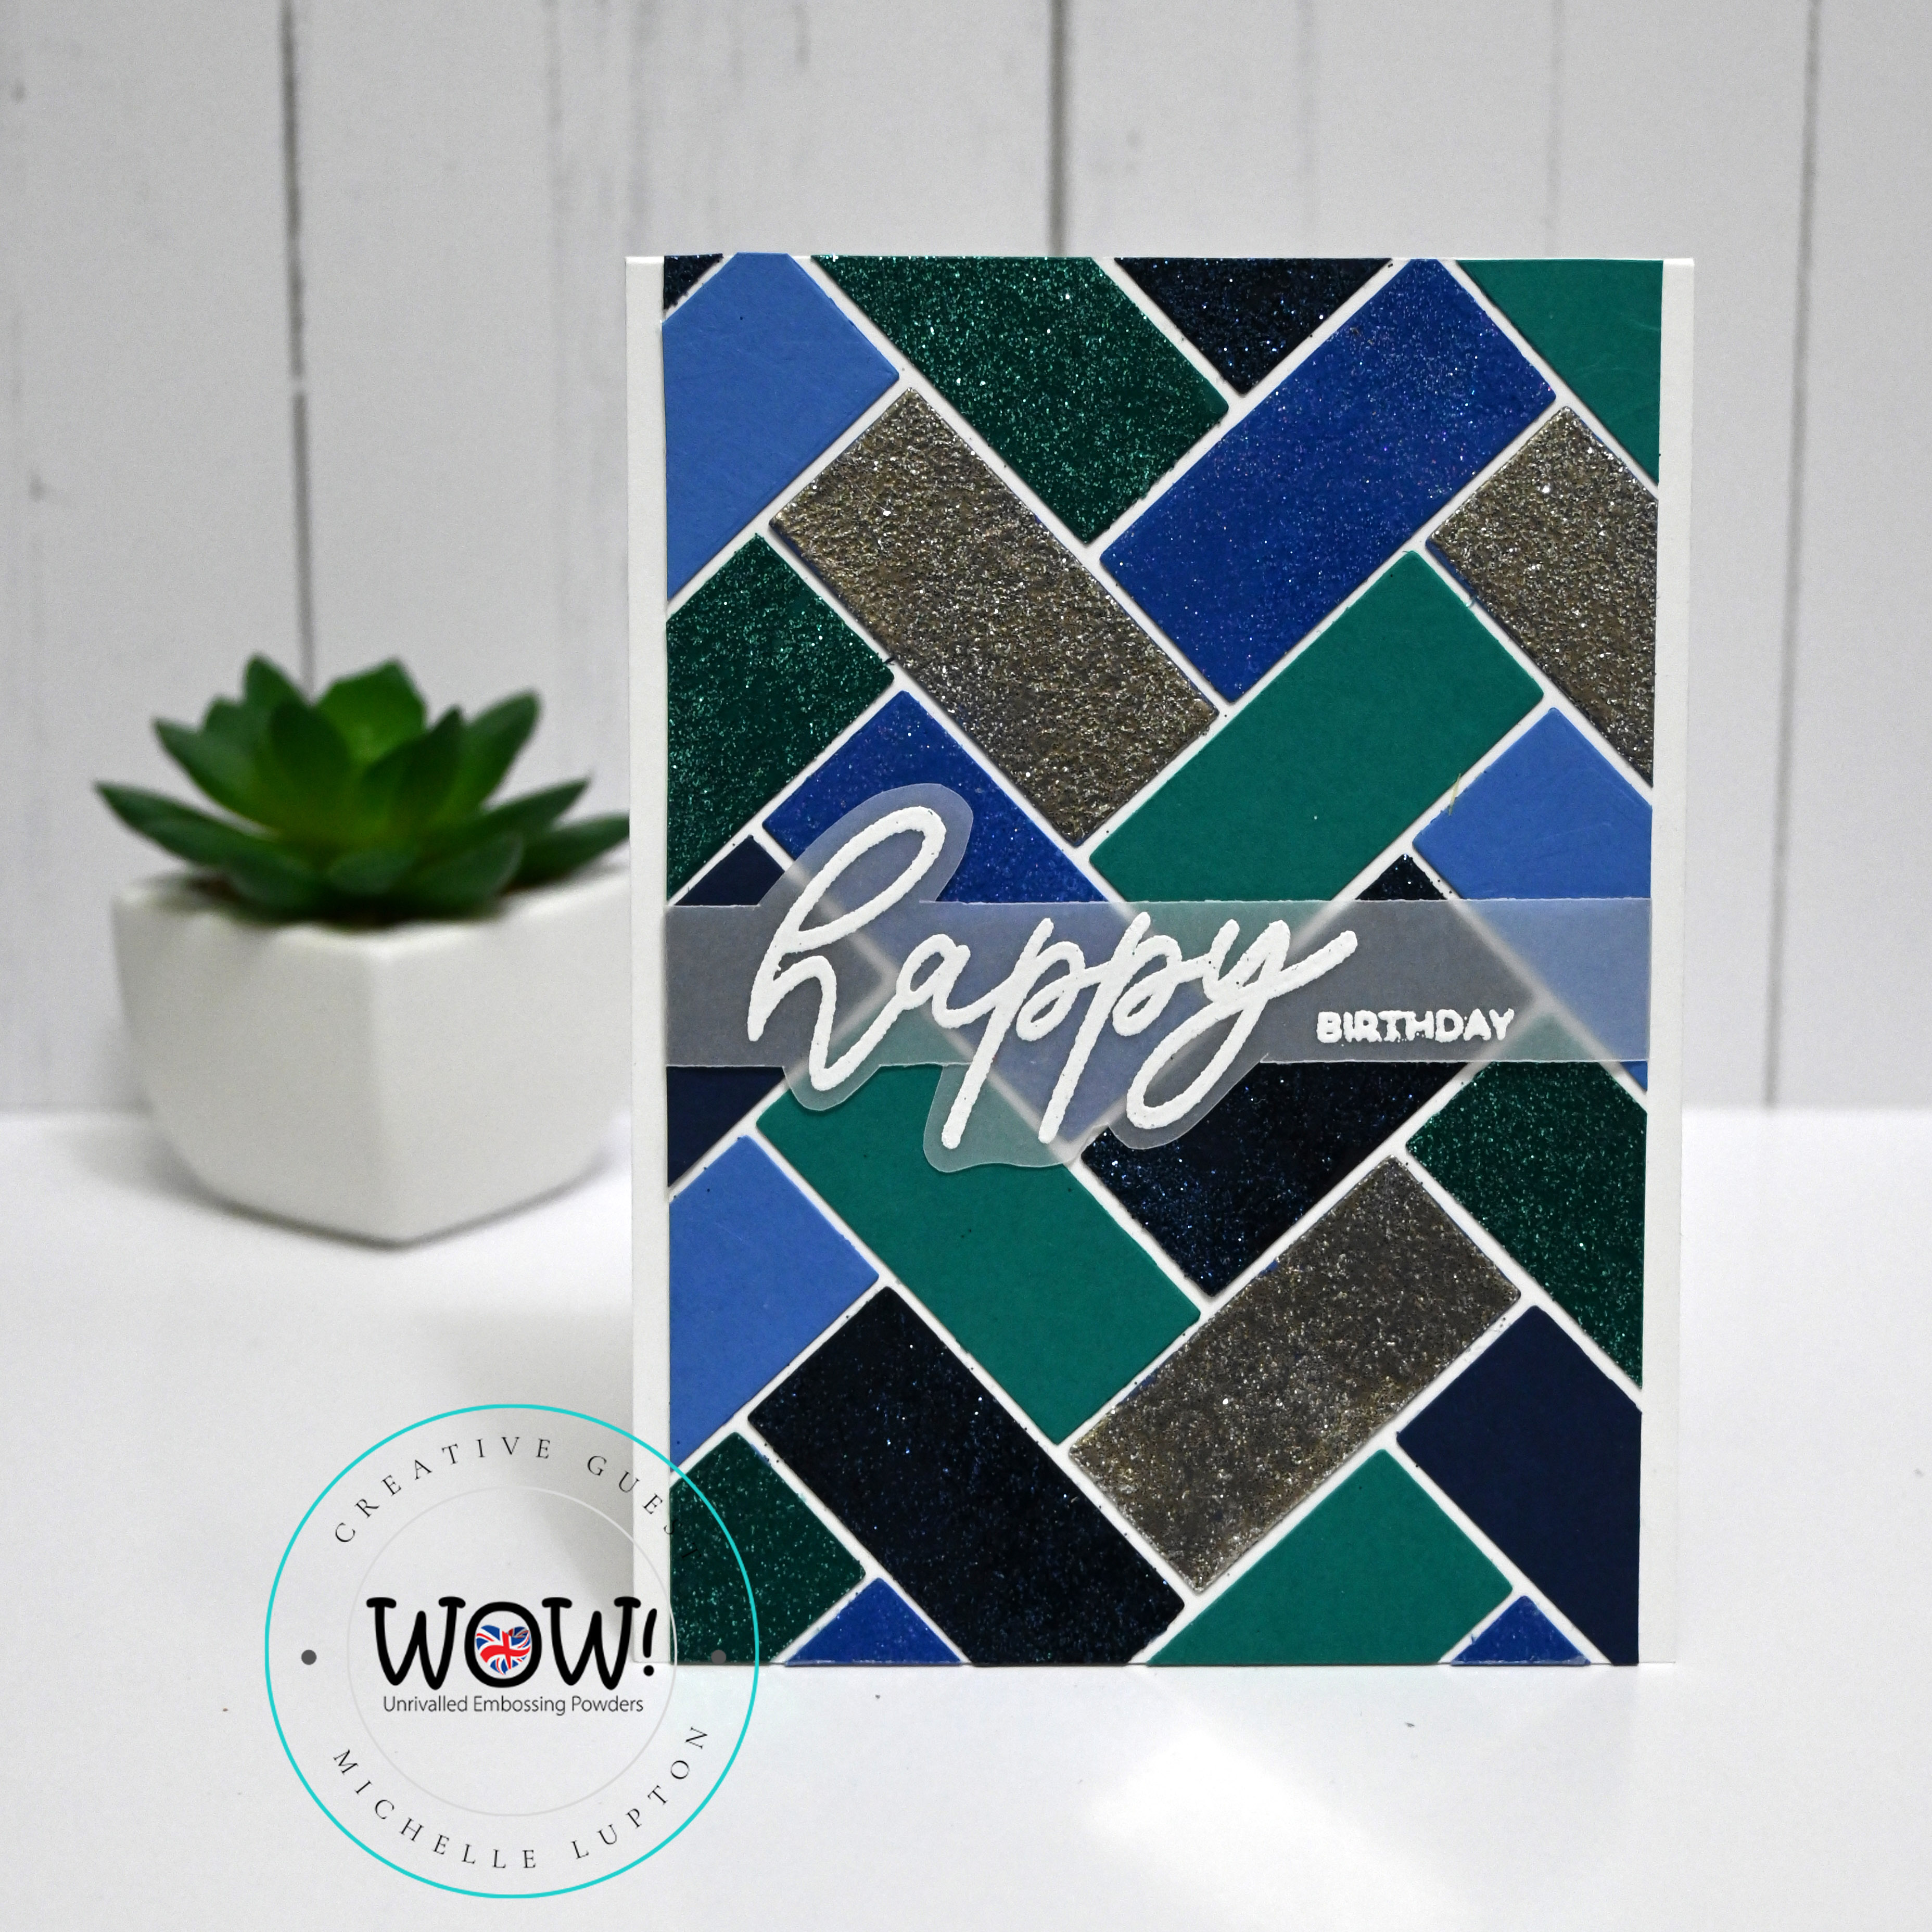
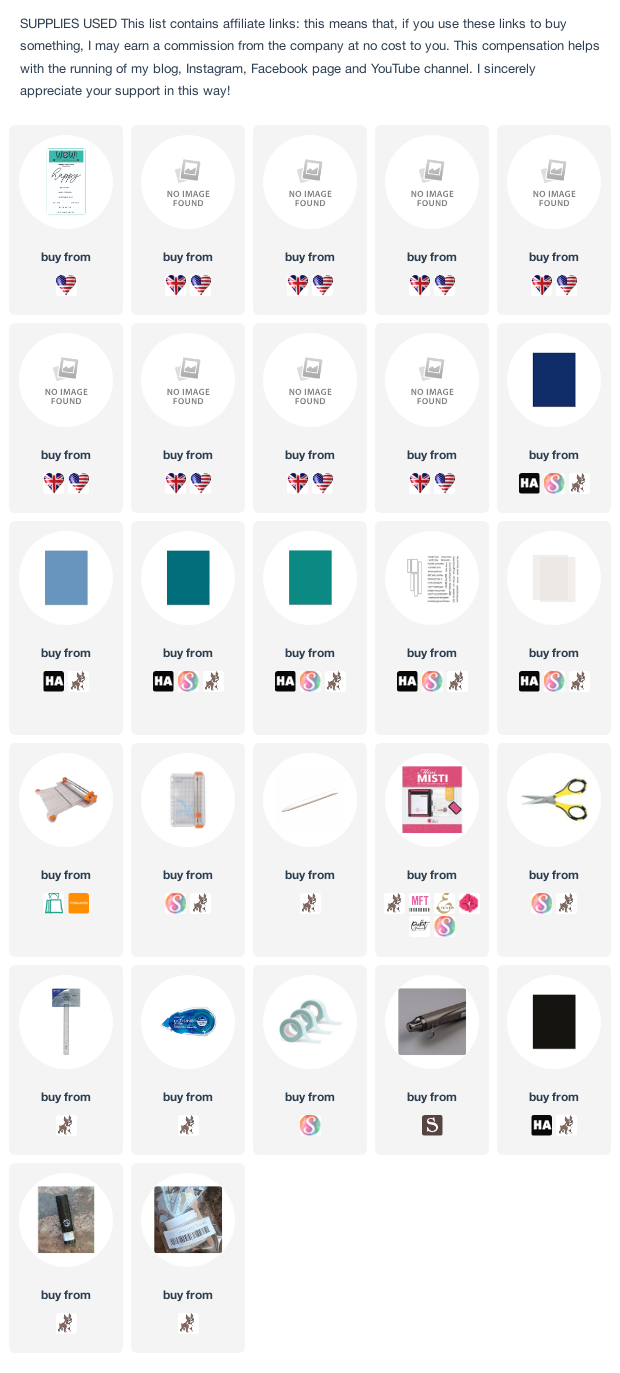
I always need birthday cards, and I'm not the best at making masculine birthday cards, so I thought I'd challenge myself to use heaps of gorgeous, glittery embossing glitters and powders on a masculine card. I cut out a bunch of little rectangles using a sentiment die from Hero Arts, in various shades of green and blue. I then embossed most of them with WOW! Embossing glitters in Pea Coat, Cerulean, Midas Touch and Neutral Ultra Shimmer. I arranged the rectangles on a panel of cardstock in a herringbone pattern, and then wrapped some vellum with a white embossed sentiment around the panel before adhering it to a top folding white card base.


Thanks for visiting :)
Monday, 13 June 2022

A rainbow of hearts for WOW! embossing

I am a guest of WOW! Embossing for June, and I had great fun playing with embossing glitter, a stencil, and their fab foilers for this card.


And I made a video - you can find it on the WOW YouTube channel! 

Thanks for visiting :)

Sunday, 12 December 2021

Case me a Christmas Card with Lydia Fiedler

Welcome to Case me a Christmas Card for 2021 - a Christmas Card blog series!  

From October to December, I will link to a series of guest cardmakers on my blog. I will CASE one of their cards, and they will CASE one of mine! CASE stands for either Copy And Share Everything, or Copy And Selectively Edit. It's about getting inspiration from cardmaking friends, but making a new card that is our own. And, of course, the card we each make has to be a Christmas card!

Background

In November 2016, I started this a little series on my blog. It started with me wanting to challenge myself to step outside my comfort zone with my Christmas cardmaking, so I asked friends to challenge me to do something different. 2016 challenges included using embroidery thread on a card, making a food themed card, making a geeky Christmas card (it had the Tardis on it) and making a dinosaur themed card. 

In 2017, I asked some of my cardmaking friends to join me with these challenges. Then, in 2020, I changed things up a bit by asking each of my guests to CASE one of my cards and I would CASE one of theirs. Ardyth Percy Robb made a video in 2020 (linked here) of a 5 step process that I use all the time when I am making a CASE of anybody's card, so I encourage you to check out her video!

Today's guest

Today, my guest is Lydia Fiedler. I have CASEd one of her cards that you can check out HERE.

 All of the products I used are linked below :) 


And I made a video! 


 This is the card I Cased: 


Lydia also Cased one of my cards - you can find it HERE

Thanks for visiting :)

Friday, 22 October 2021

Case me a Christmas Card with Debbie Pamment

Welcome to Case me a Christmas Card for 2021 - a Christmas Card blog series! 

From October to December, I will link to a series of guest cardmakers on my blog. I will CASE one of their cards, and they will CASE one of mine! CASE stands for either Copy And Share Everything, or Copy And Selectively Edit. It's about getting inspiration from cardmaking friends, but making a new card that is our own. And, of course, the card we each make has to be a Christmas card!

Background

In November 2016, I started this a little series on my blog. It started with me wanting to challenge myself to step outside my comfort zone with my Christmas cardmaking, so I asked friends to challenge me to do something different. 2016 challenges included using embroidery thread on a card, making a food themed card, making a geeky Christmas card (it had the Tardis on it) and making a dinosaur themed card. 

In 2017, I asked some of my cardmaking friends to join me with these challenges. Then, in 2020, I changed things up a bit by asking each of my guests to CASE one of my cards and I would CASE one of theirs. Ardyth Percy Robb made a video in 2020 (linked here) of a 5 step process that I use all the time when I am making a CASE of anybody's card, so I encourage you to check out her video!

Today's guest

Today, my guest is Debbie Pamment. I have CASEd one of her cards that you can check out HERE.

All of the products I used are linked below :)  


And I made a video! 


 This is the card I Cased: 

 Debbie also Cased one of my cards - you can find it HERE

Thanks for visiting :)

Saturday, 2 May 2020

Picket Fence Studios + WOW! Embossing Collaboration Blog Hop

Welcome to a very special post - Picket Fence Studios and WOW! Embossing are collaborating with a blog hop!

PRIZES - No Blog hop is complete without a prize!
WOW! Embossing Powders is giving away a $25 gift certificate to either their UK or USA store.
Picket Fence Studios is giving away a $50 gift certificate to their store.
The Winners will be chosen at random from the comments left on THE POSTS.
To join this GIVEAWAY you must leave a comment on each blog post to have a chance at getting your hands on the prize. This hop is open internationally.
Now on to my cards for today's part of the hop!
I started by adhering the Funky Leaves Stencil to some Neenah Solar White cardstock. I then used a palette knife to add Paper Glaze in Fern Green, Leaf Green and Succulent Green over the stencil. When I removed the stencil, I sprinkled the panel in patches with WOW Embossing Glitter in Emerald City and Calypso. I then heat set the embossing glitter before the Paper Glaze had fully dried, so I got some bubbling, which created even more texture. 
I cut the panel down and mounted it on a mat of green cardstock, and then onto a white card base. I stamped the Thanks sentiment from the "A Little Nuts" stamp set in Picket Fence Studios black ink.

For my second card, I used the Flowers in a Heart stencil and inked it with Distress Oxide Inks in Picked Raspberry and Wilted Violet using my Picket Fence Studios Life Changing Blender Brushes. I then used a foam blending tool to add Versamark ink over the pink and purple inks, so that I could then add some Clear Sparkle Embossing Glitter over the top. I heat set that, before stamping the wedding sentiment from Fancy Sentiments onto a scrap of purple cardstock in Versamark. I added Metallic Silver Regular embossing powder to the sentiment, heat set it, and then fussy cut around the sentiment before adhering it to my card with foam mounting tape.


I made a 3rd card, too - specifically because I wanted to use a rainbow of embossing powders!

I used the Mermaid Scales stencil with Versamark ink, before adding WOW! embossing powders in
Primary blue tang, Metalline Green, Honeydew, Tangerine dream and Primary Apple red. I used the "Seriously" word die, and the stamped sentiment is from Small Ways to Say Thanks.

Thursday, 19 September 2019

Inspired by Gale at A Blog Named Hero

The challenge this month at A Blog Named Hero is "Inspired By" - I have taken inspiration from a card posted in July by Gale Williams-Thompson.
 

Gale created a panel of watercolour card with glitter paste and watercolour powders. I don't have glitter paste, so I used Wendy Vecchi embossing paste. Gale used Pixie spray to adhere her stencil, which I don't have, so I used a technique I've seen Kelly Latevola use - put Tombow mono multi glue on the back of the Bold Floral stencil from Hero Arts and wait for it to dry so it becomes repositionable. I spread the embossing paste over the stencil, scraped off the excess, then sprinkled Nuance watercolour powder over the top, and sprayed with water and mopped up the excess water with paper towel. When the panel was dry, I added some Stardust Stickles to give some glittery shine, and added a white embossed sentiment from Many Birthday Messages popped up on dimensional adhesive.


Thanks for visiting :)

Sunday, 25 August 2019

Celebrate

These photos just do not do the glitter embossing powder from WOW justice!


I stamped the Damask background stamp from Simon Says Stamp in Versamark, then added the Emerald City embossing glitter from Wow. I cut the panel with dies from Pink & Main, and from Lil' Inkers, and stamped the Celebrate stamp, from Gina K Design.


Thanks for visiting :) 

Monday, 15 April 2019

Glittery hello

This card looks odd when photographed straight on, but in person, the "hello" stands out really well against the glittery heart.


I used the Damask background stamp from Simon Says Stamp, stamped in Versamark and embossed with "Emerald City" embossing glitter from WOW. I then cut it with a heart die from Pink and Main (and embossed the larger heart on the card base, too), then added a die cut Hello also from Pink and Main, and a white embossed "amazing friend" (I cannot remember where that stamp came from, and I actually made this card months ago - if anyone recognises it, please let me know!)


I will be sharing this card at the Simon Says Stamp Wednesday Challenge, where the theme is "No Designer Paper"

https://www.simonsaysstampblog.com/wednesdaychallenge/simon-says-whatever-the-weather-2/


Thanks for visiting :)

Friday, 16 November 2018

Online card class day 4

I made a few Christmas tags yesterday, and I liked them so much I decided to make a card version as well. But then I saw Jess Frost Ballas' video in today's Online Card Class, and decided to add some glitter and glitz to my snowflakes.
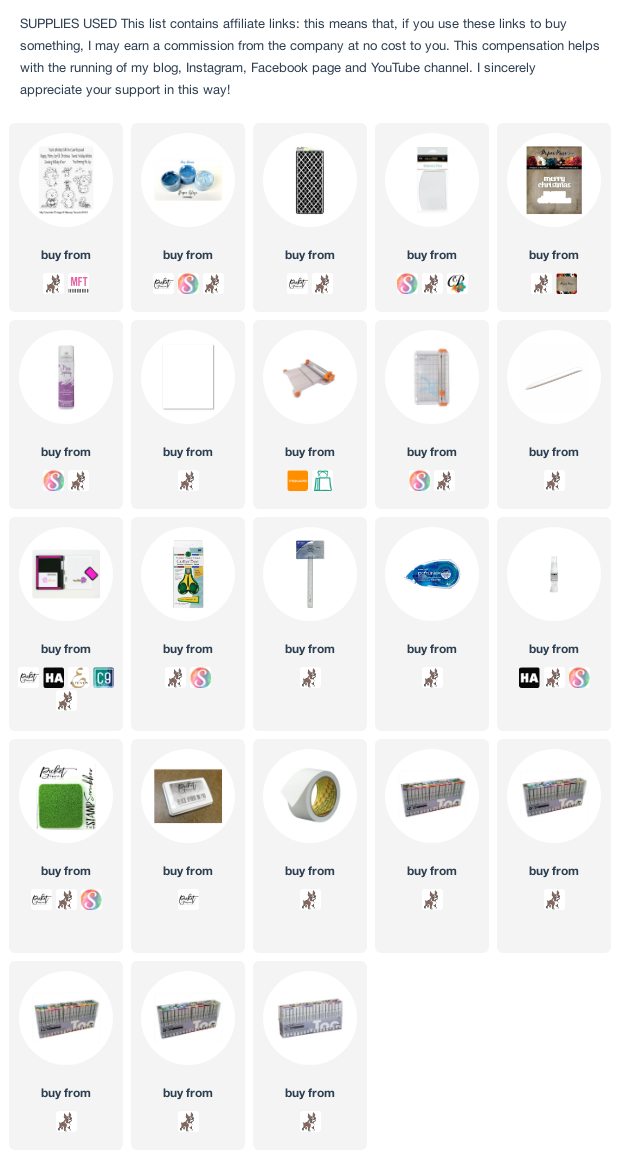
I used Distress Oxide Inks in Salty Ocean and Chipped Sapphire to create the background (on the tags,, I then sprayed with Perfect Pearls, but I skipped that step on the card, because I was going to make the snowflakes super glittery). The snowflakes are dies from Simon Says Stamp, which I embossed with Wow clear sparkle embossing glitter, and then added some chunky glitter from Stampin' Up.  The sentiment is from Birch Press, white embossed onto a black strip, and added some extra shine with sequins from Pretty Pink Posh.
 Here's a pic of the tags I made yesterday - no glitter, but Perfect Pearls on the background:

https://www.onlinecardclasses.com

Thanks for visiting :)

Friday, 9 November 2018

Fusion: Wine O'Clock

Welcome to a new challenge at Fusion!

Make sure you check out all the rest of the inspiration at the Fusion challenge blog, and play along with your own creation!

Thanks for visiting :)

Sunday, 22 April 2018

Glittery happy 21st

I was asked today by a friend to make a 21st birthday card, so I decided to go glittery.
 The glittery goodness isn't totally obvious from the first photo, so here's a shinier one!
I'll be sharing this at the Simon Says Stamp Wednesday challenge, where the theme is Sparkle and Shine.
http://www.simonsaysstampblog.com/wednesdaychallenge/simon-says-sparkle-shine/
Thanks for visiting :)

Friday, 22 September 2017

CAS-ual Fridays: CFC 183

Happy friday! I have a shaker card for you today for the latest CAS-ual Fridays challenge.

I used the CAS-ual Fridays stamp sets "Bring on the snowflakes" and the discontinued set, "Christmas Carols"

 Make sure you check out the rest of the design team creations at CAS-ual Fridays!

Thanks for visiting :)

Sunday, 17 September 2017

Some glitter to bring a smile

I wanted to make something bright and sunshiny today - this isn't really bright, or sunshiny, but there must be sunshine on the way, because there's a rainbow. I used the Ornate Background stamp from Simon Says Stamp, along with WOW glitter embossing powder, Zig Markers, a cloud nesting die from Hero Arts and a sentiment from Mama Elephant. 
Even though there's no direct sunshine on this card, and the colours are very pale, there is glitter. LOTS AND LOTS OF GLITTER.
I discovered that glitter embossing powder doesn't resist water as well as traditional embossing powder - you live and learn. But I still like all the glittery goodness, even if this wasn't actually the look I was going for.

I'll be sharing this at the Simon Says Stamp Wednesday Challenge, where the theme is Clean and Simple.

http://www.simonsaysstampblog.com/wednesdaychallenge/simon-says-clean-simple/ 
Thanks for visiting :)