Compensated affiliate links may be used - these are at no extra cost to you. I appreciate your support!
Today, I'm sharing a card I made for the Creative watercolor media class as part of the Altenew AECP.



Compensated affiliate links may be used - these are at no extra cost to you. I appreciate your support!
Today, I'm sharing a card I made for the Creative watercolor media class as part of the Altenew AECP.
Compensated affiliate links may be used - these are at no extra cost to you. I appreciate your support!
I was in love with this Betterpress plate from Spellbinders when it was first released, and I'm still loving it!


Welcome to Case me a Christmas Card for 2022 - a Christmas Card blog series!
For more background info on the who, what, where, when, how and why of this series, please visit my first post for this year HERE!Today's guest
Today, my guest is Hannelie Bester. I have CASEd one of her cards that you can check out HERE.
All of the products I used are linked below :)


And I made a video!
This is the card I Cased:

.jpeg)
Welcome to Case me a Christmas Card for 2022 - a Christmas Card blog series!
For more background info on the who, what, where, when, how and why of this series, please visit my first post for this year HERE!Today's guest
Today, my guest is Cecilia Hsieh. I have CASEd one of her cards that you can check out HERE.
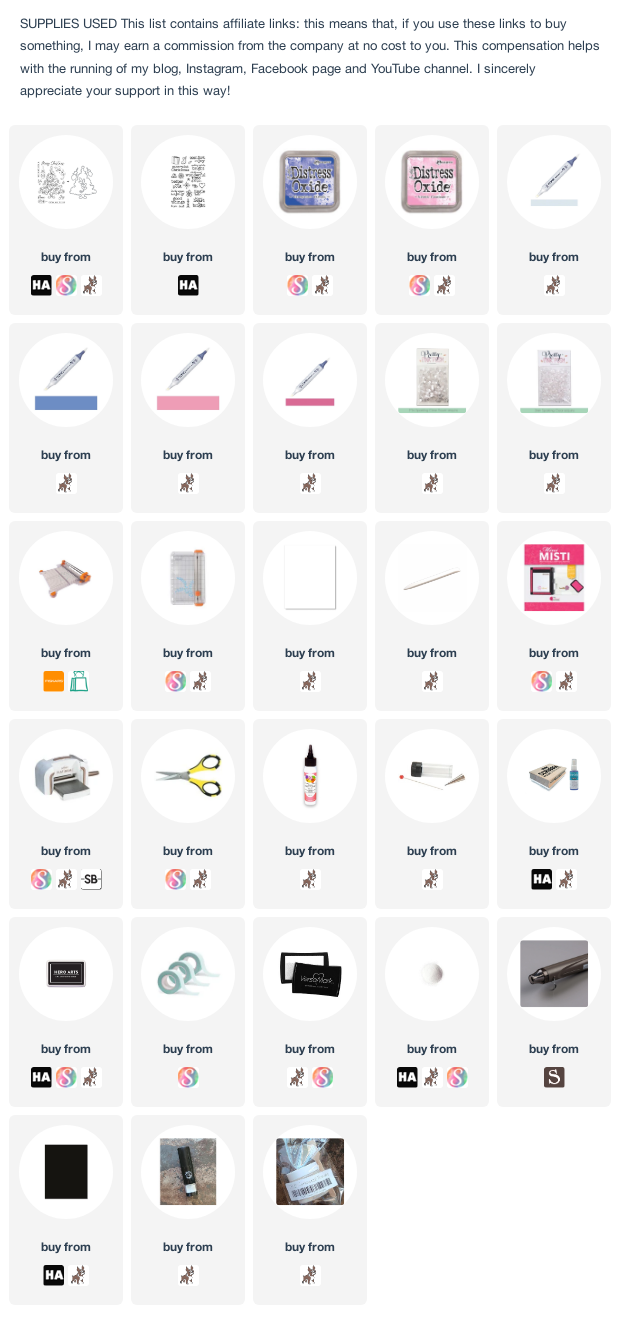
All of the products I used are linked below :)


.jpeg)
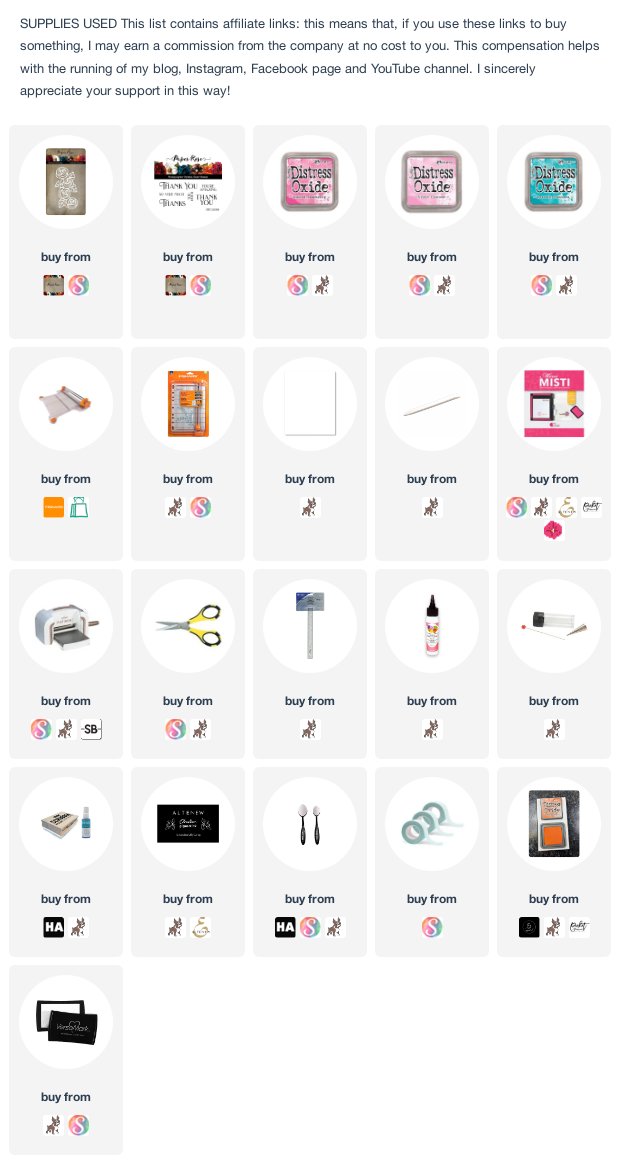
Today, I'm sharing a card using a floral die from Paper Rose Studios.


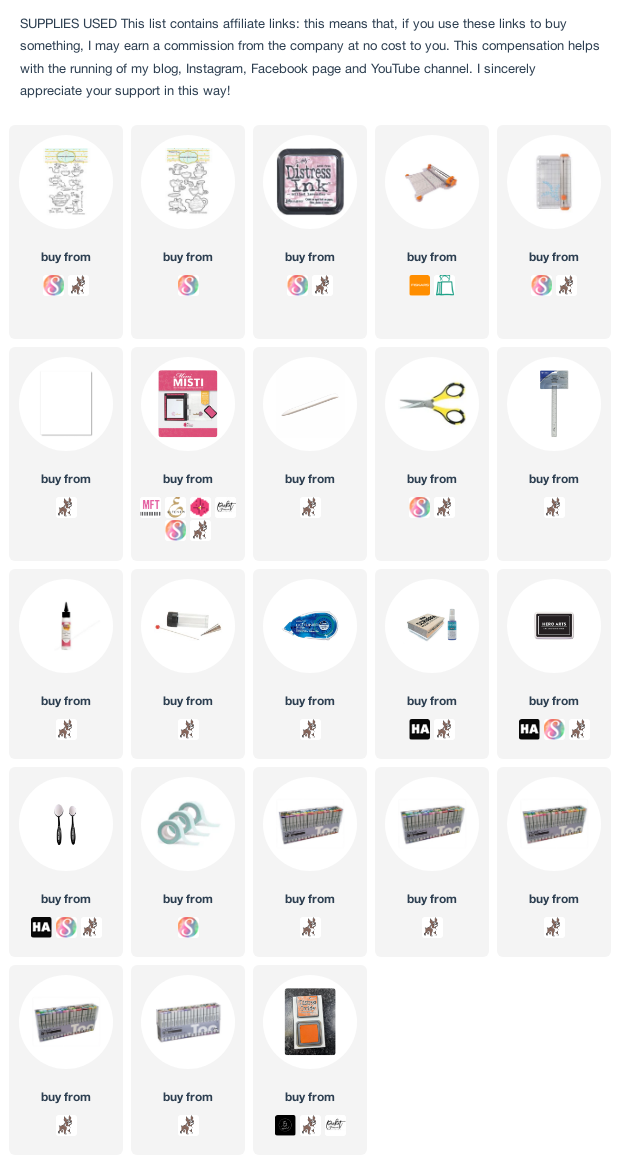
I recently bought a cutie pie stamp set from Colorado Craft Company with images by Anita Jeram. I decided to make a super CAS card.


There's a new challenge at Stay Crafty with A Blog Named Hero starting today. The theme is "Another Year Older" - we'd like to see all of your birthday card ideas! Any theme, any colour scheme, any technique, as long as it's a birthday card.

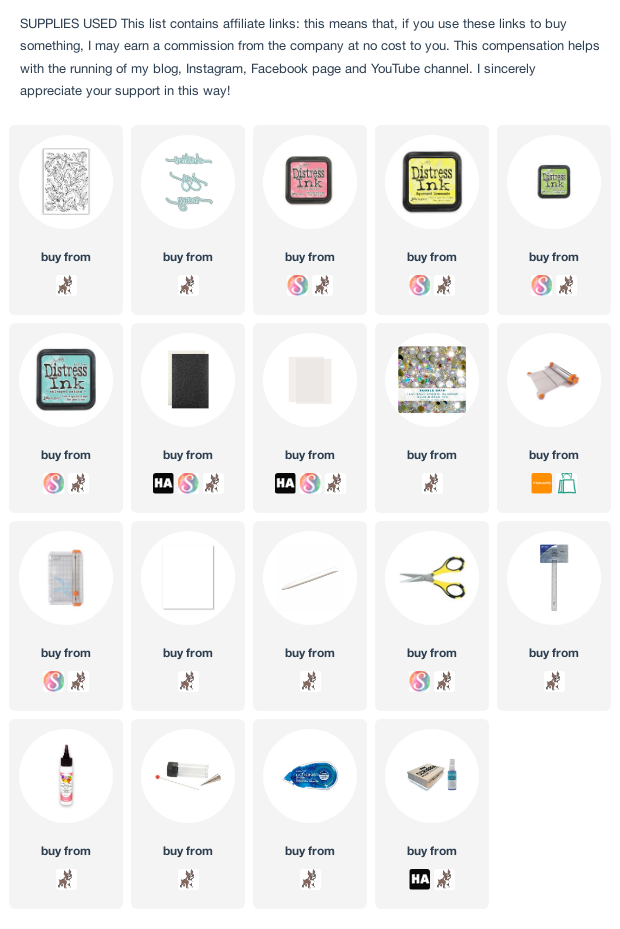
I did some watercolouring with Distress inks, before stamping with the Togetherness Flower Bouquet stamp. I then cut the "happy" die from the Happy Thanks" Stamp & Cut set, and stacked up the word die to create the eclipse effect. I added some Wink of Stella on the word, and stamped the word "Birthday" below the die.


Thanks for visiting :) 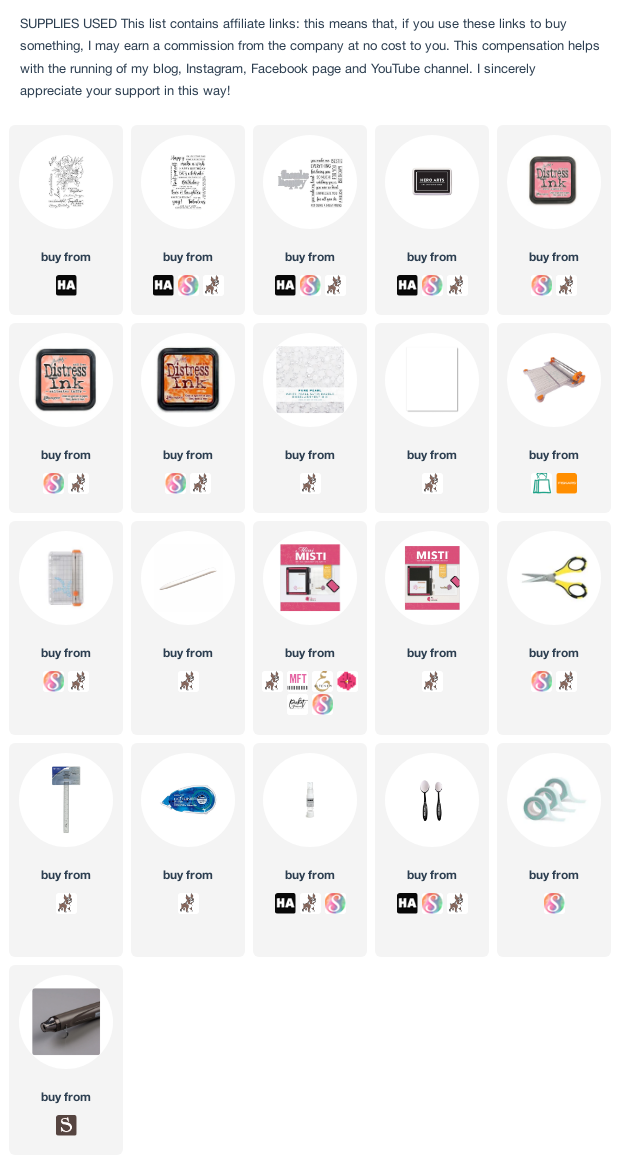
Catching up on Online Card Class homework - this was from a Kristina Werner video on Faux Letterpress.


Online card class, day 2 - I tried Jessica Frost Ballas' technique, but had a massive fail (I didn't have the right type of layering die), so here's what I made from Cathy Zielske's lesson.

Today, I'm sharing a card I made using some products I recently got from Simon Says Stamp.


Welcome to Case me a Christmas Card for 2021 - a Christmas Card blog series!
From October to December, I will link to a series of guest cardmakers on my blog. I will CASE one of their cards, and they will CASE one of mine! CASE stands for either Copy And Share Everything, or Copy And Selectively Edit. It's about getting inspiration from cardmaking friends, but making a new card that is our own. And, of course, the card we each make has to be a Christmas card!
Background
In November 2016, I started this a little series on my blog. It started with me wanting to challenge myself to step outside my comfort zone with my Christmas cardmaking, so I asked friends to challenge me to do something different. 2016 challenges included using embroidery thread on a card, making a food themed card, making a geeky Christmas card (it had the Tardis on it) and making a dinosaur themed card.
In 2017,
I asked some of my cardmaking friends to join me with these challenges.
Then, in 2020, I changed things up a bit by asking each of my guests to
CASE one of my cards and I would CASE one of theirs. Ardyth Percy Robb made a video in 2020 (linked here)
of a 5 step process that I use all the time when I am making a CASE of
anybody's card, so I encourage you to check out her video!
Today's guest
Today, my guest is Ceal Pritchett. I have CASEd one of her cards that you can check out HERE.
All of the products I used are linked below :)


This is the card I Cased:

And I made a video!
Ceal also Cased one of my cards - you can find it HERE

Thanks for visiting :)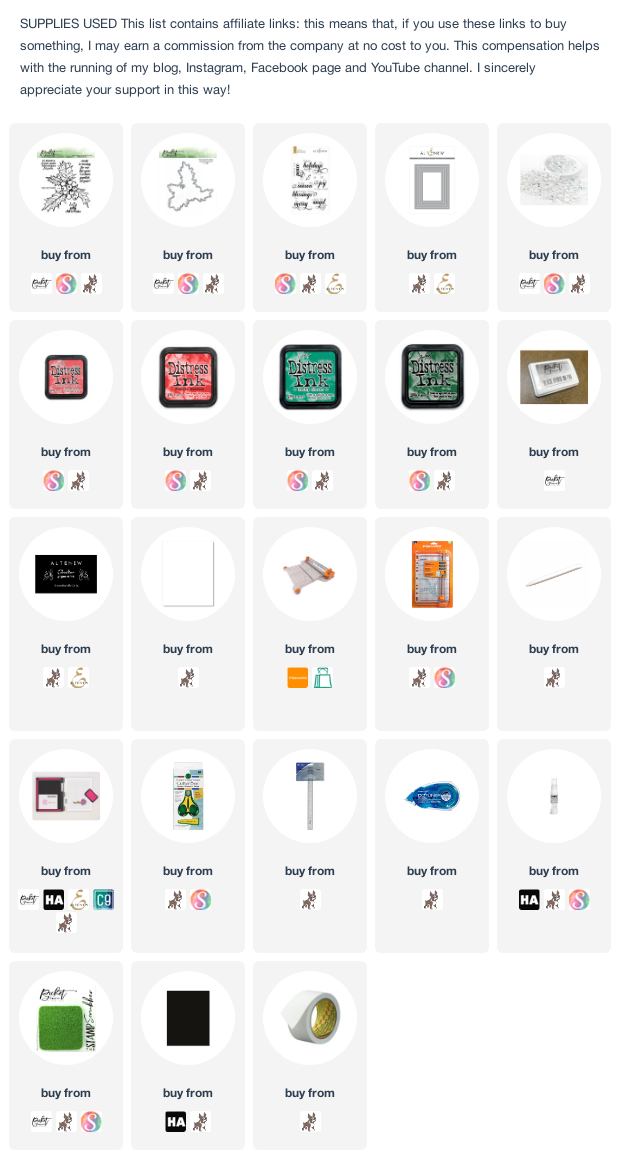
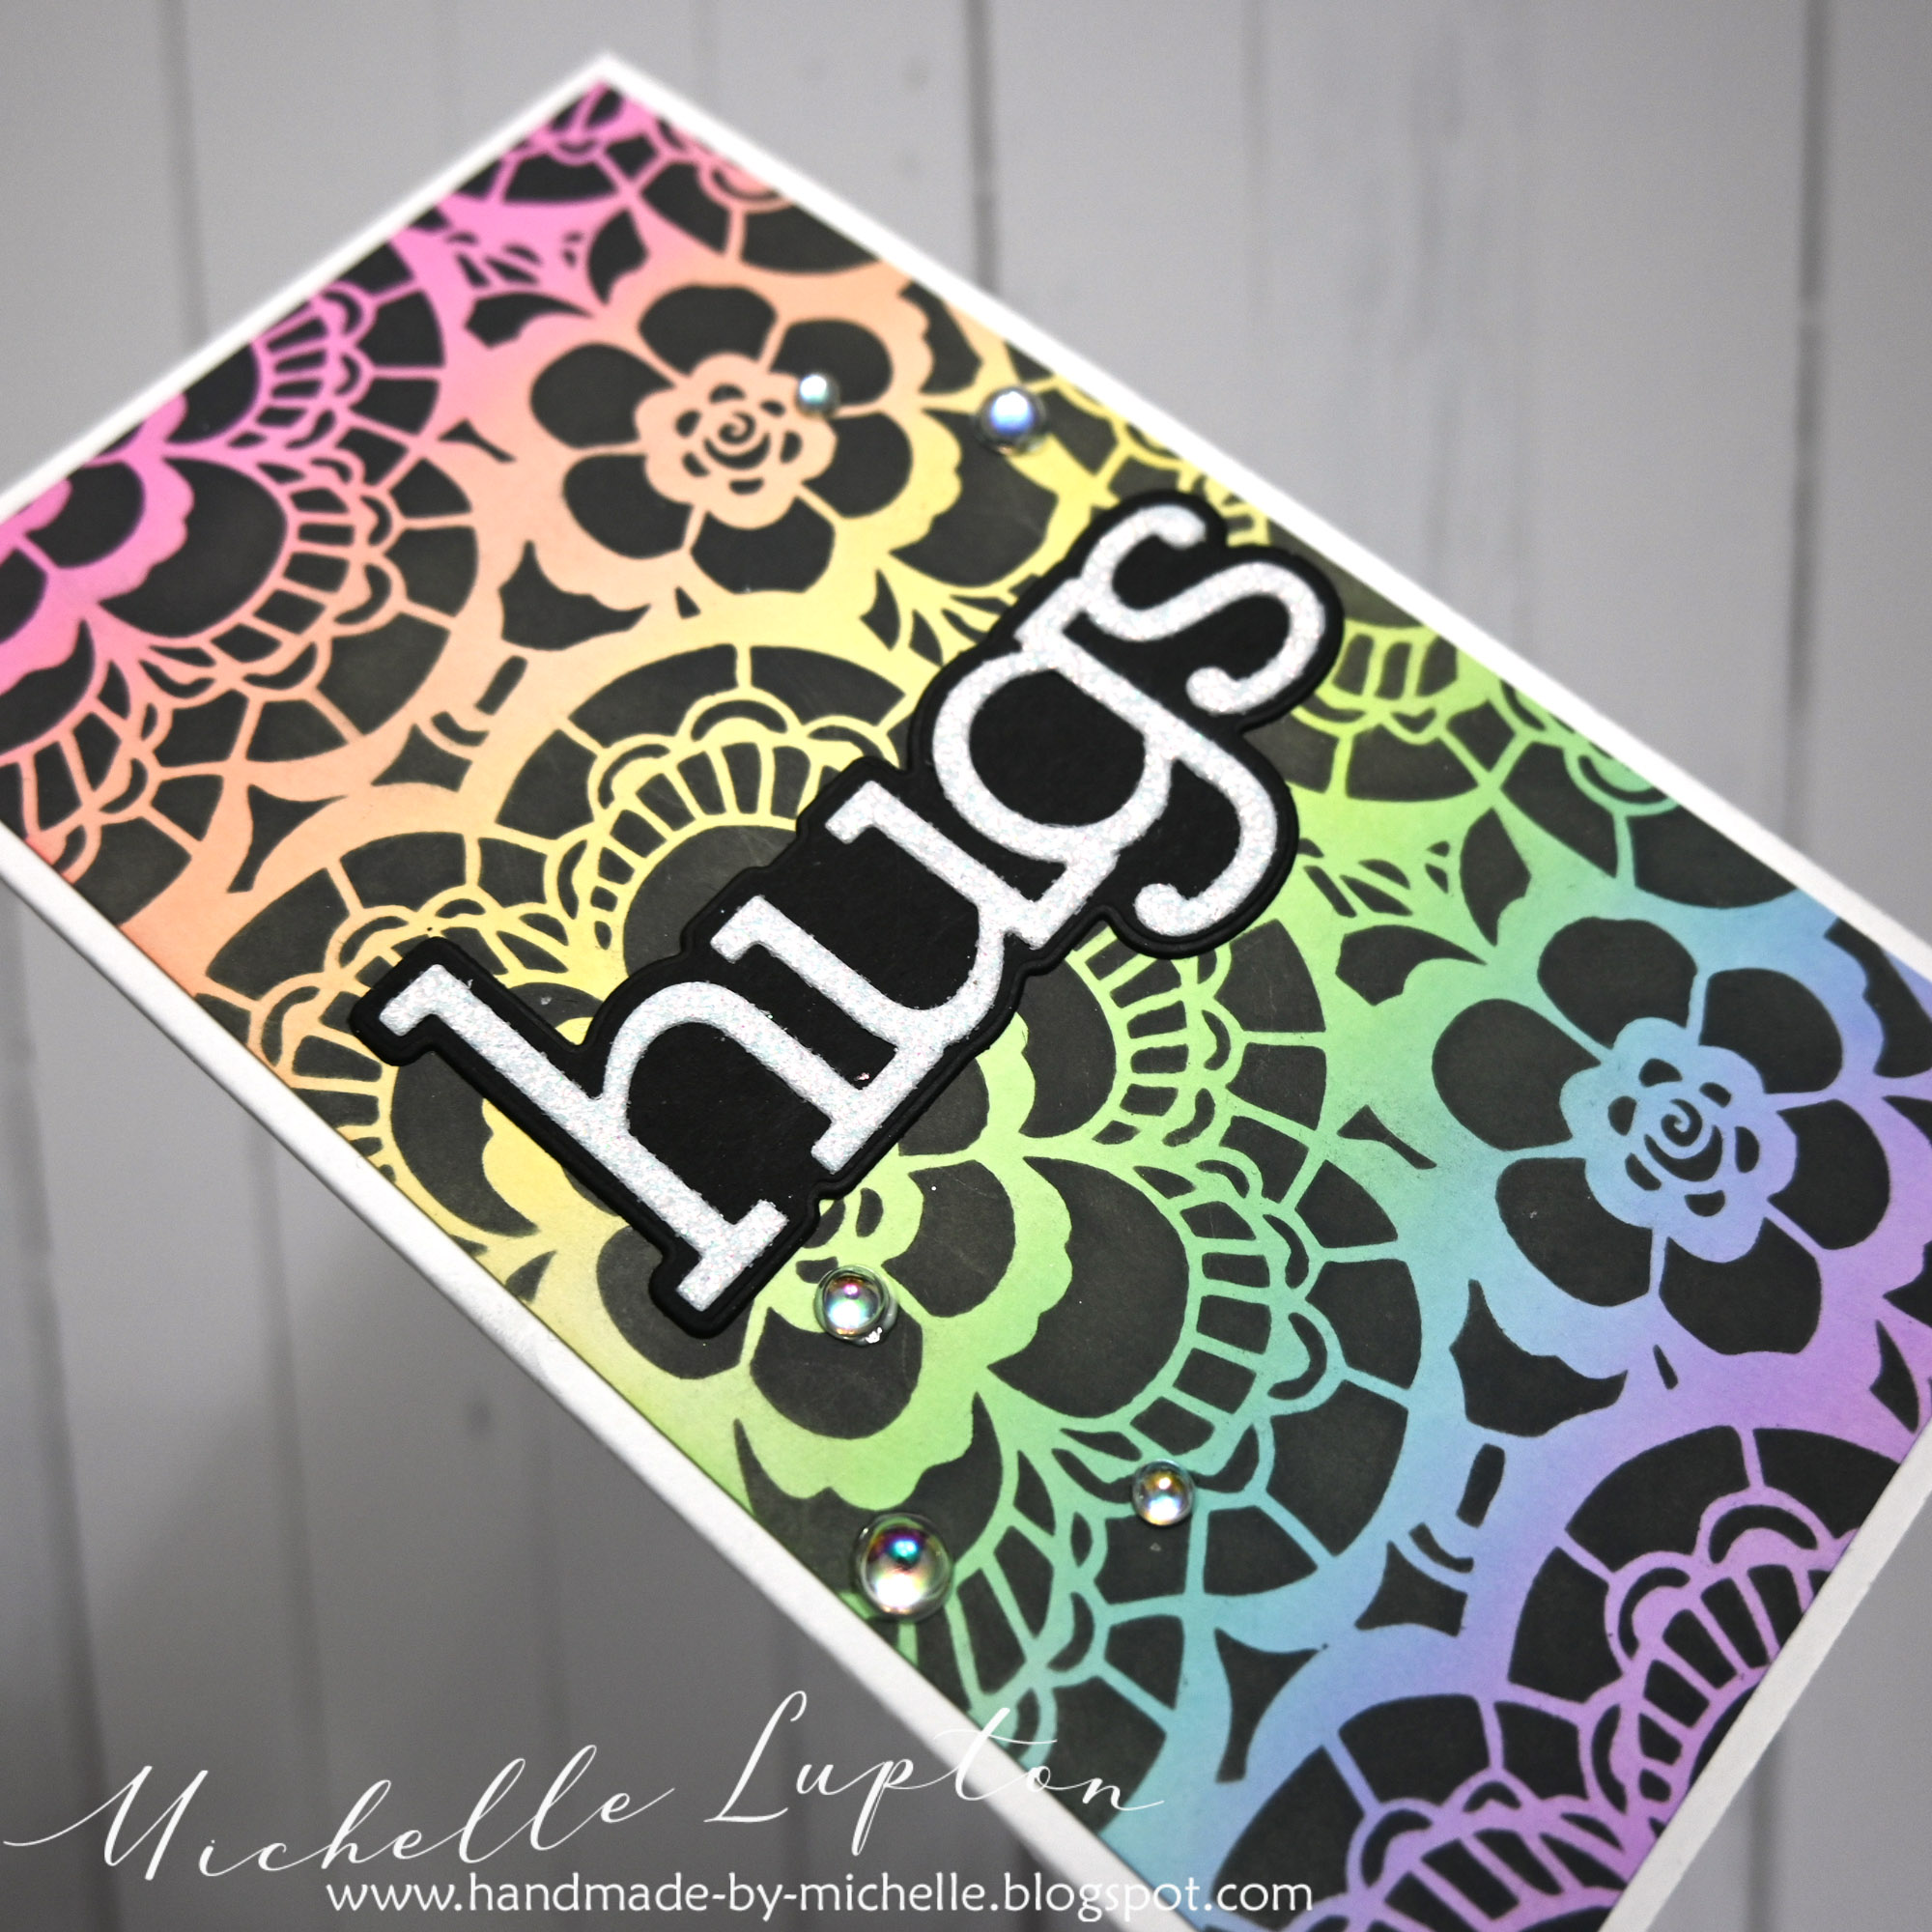
Day 5 at the current Online Card Class is all about embossing with stencils. I started with a piece of white cardstock that I covered with Paper Glitz sparkle, and then I embossed with the Coloring Book stencil from Picket Fence Studios.

I then added a die cut sentiment from Paper Rose, and a stamped and white embossed sentiment from Hero Arts.

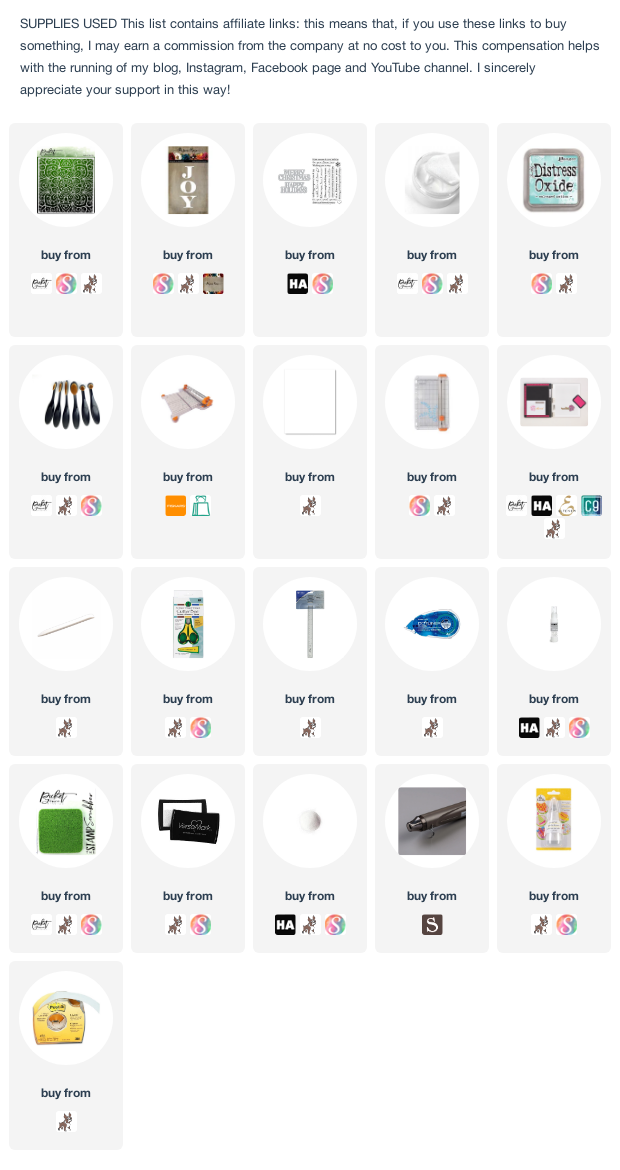
Today, I'm taking part in a blog party over at Simon Says Stamp to celebrate Stamptember! The lovely people at Simon Says Stamp sent me this lovely die, which I teamed up with an background stamp and a small sentiment set.


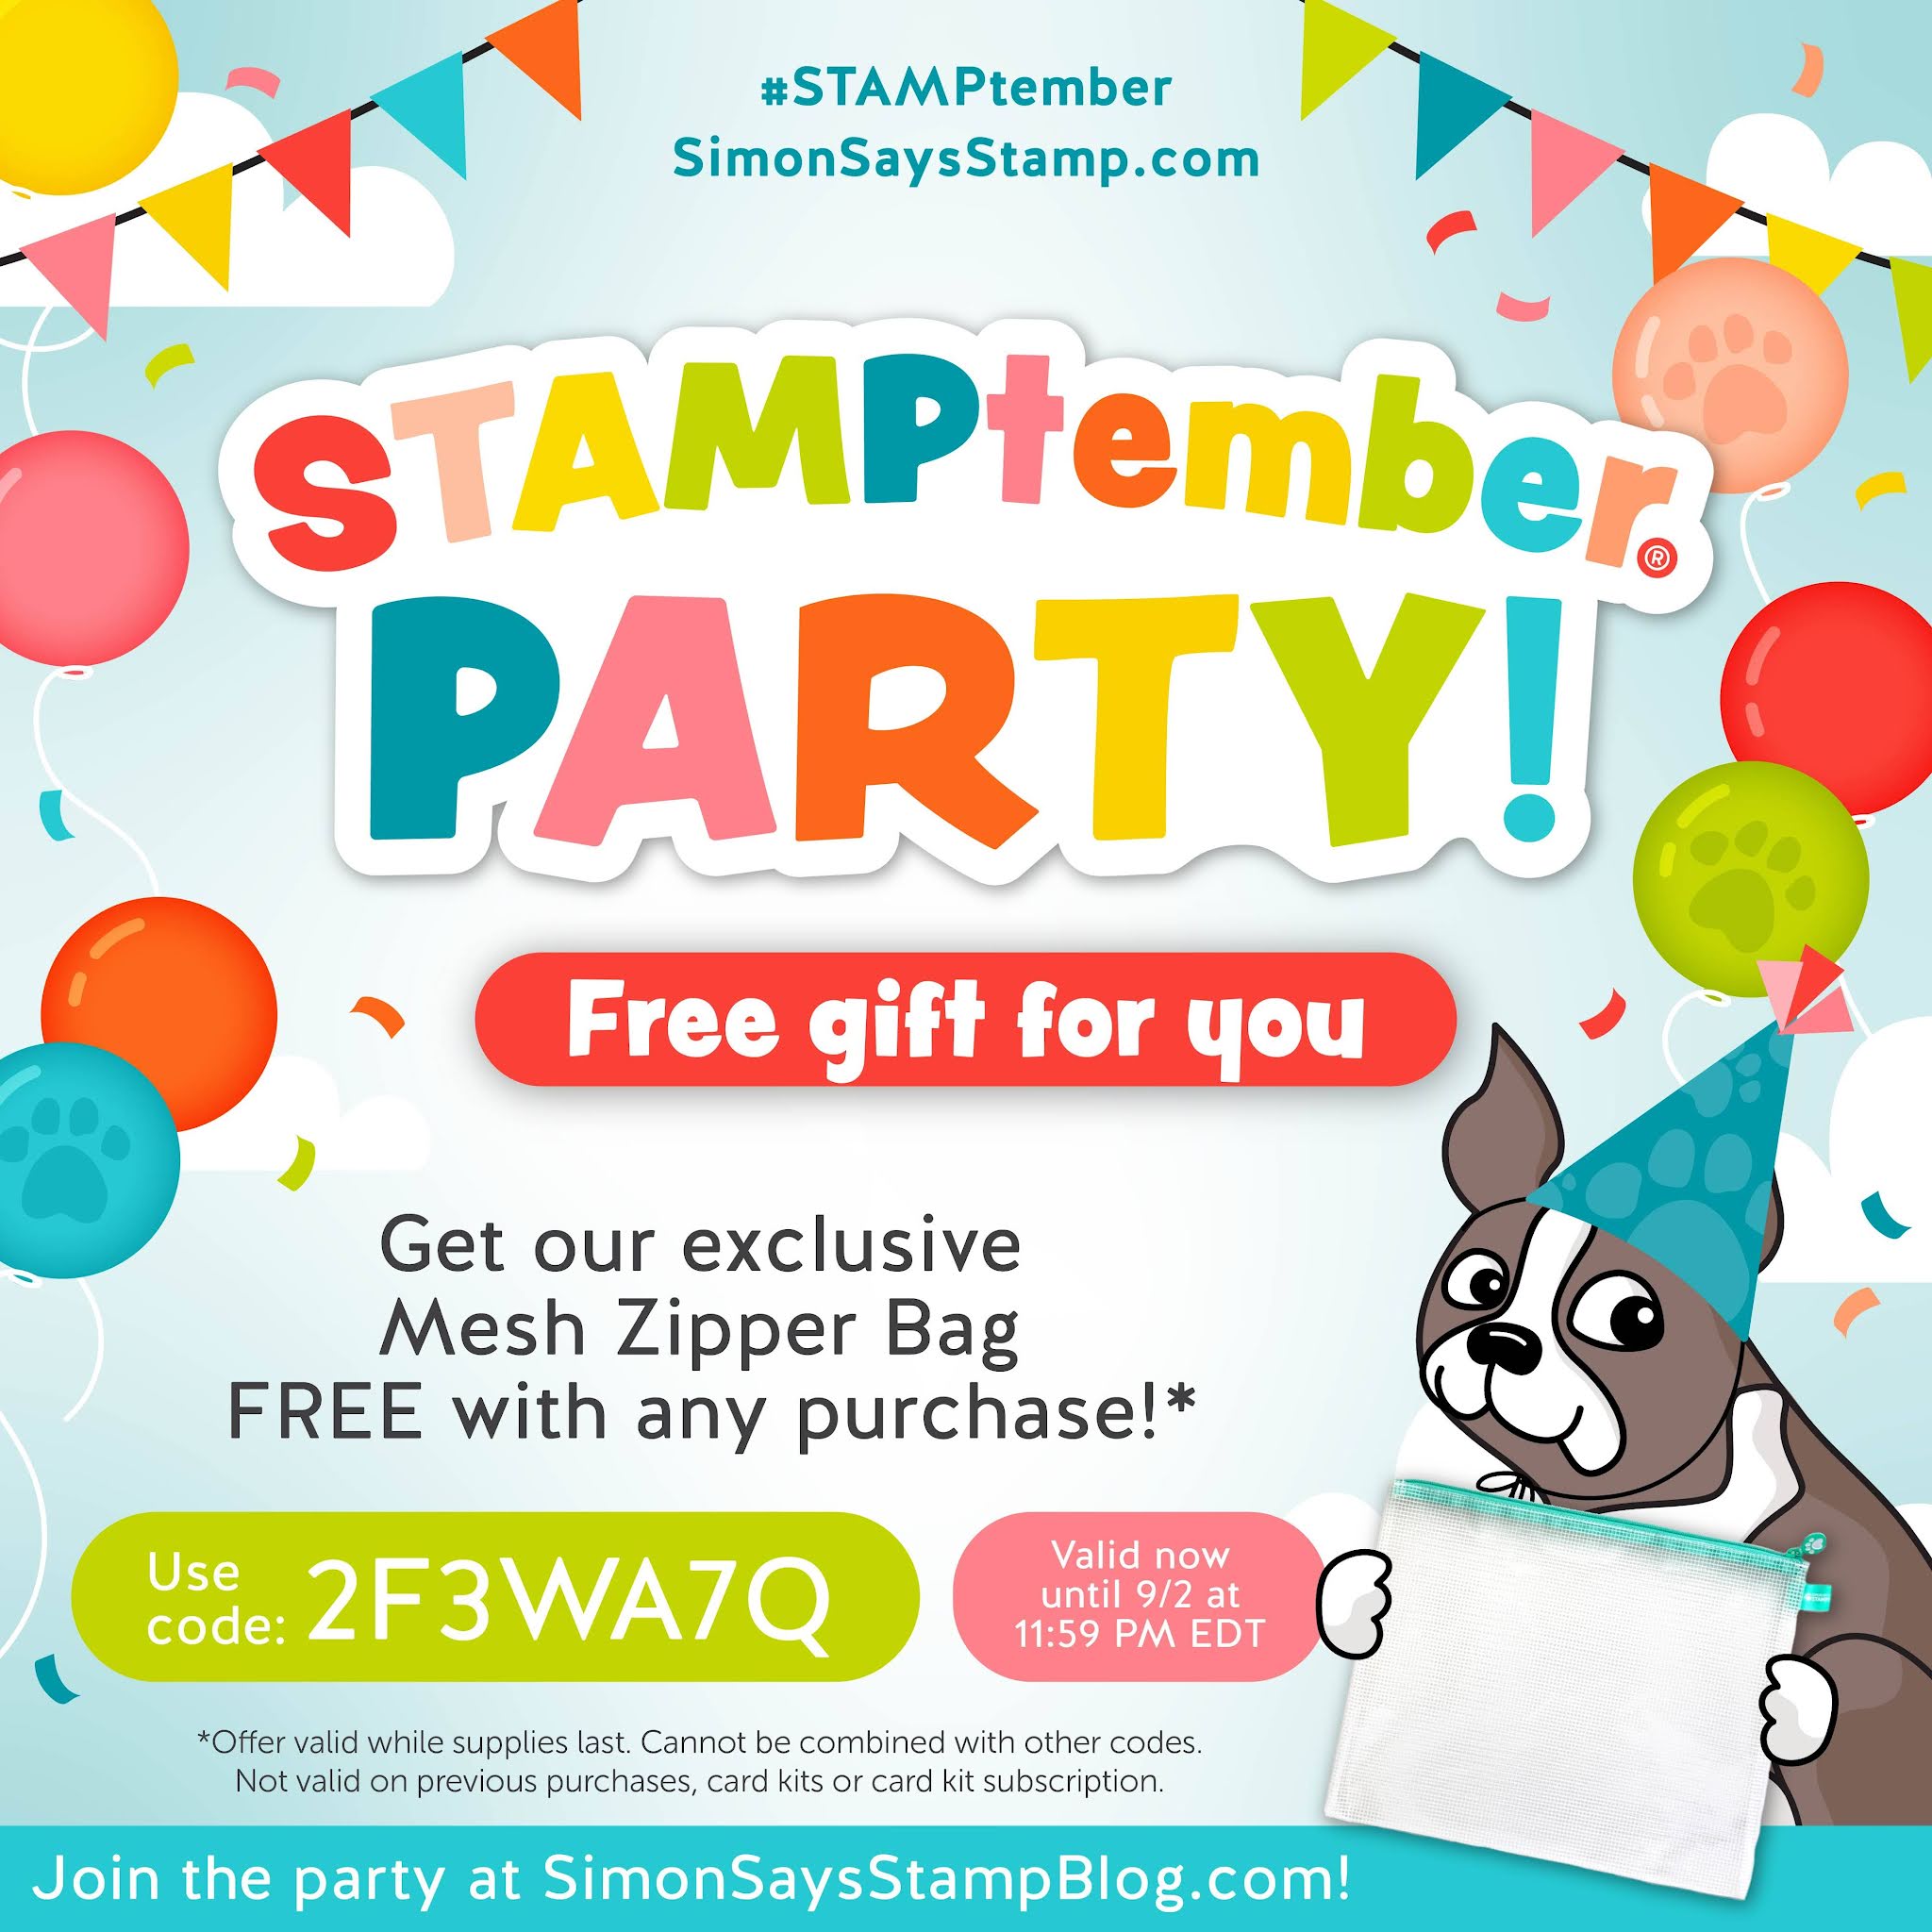
And Simon Says Stamp is offering anyone who has visited my blog today a free gift! Click on the graphic below and don't forget to use the code!
Thanks for visiting :)
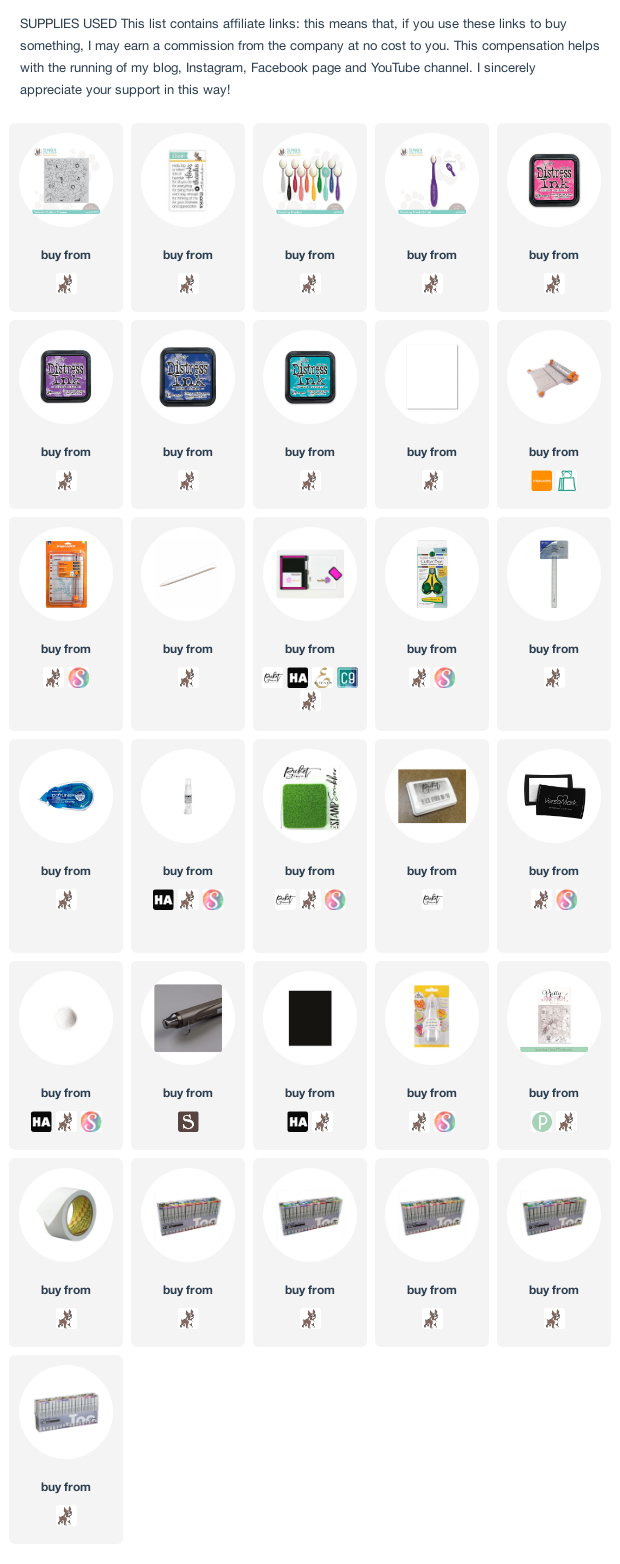
There's a new release today from Simon Says Stamp! The release is called "Hello Beautiful", and the lovely people at Simon sent me the new set called "Baby Gender Reveal". I made these two cards using it:

I paired the new set up with the Waves stencil (from an earlier Simon Says Stamp release) and Distress Oxide inks and Copic markers.

I used Distress Oxides on this card, too, but I used the ink smooshing technique instead of ink blending.