Compensated affiliate links may be used - these are at no extra cost to you. I appreciate your support!
As part of the Altenew Educator Certification Program, I was set a challenge to finish up level 1.
In my cards, I used techniques from multiple classes in level 1, including All About Layering, Clean and Simple Boutique Cards, and Stencil Techniques.
I kept both the masculine and feminine sets cohesive by using XOXO and Happy Birthday as the sentiment. I also included stenciling as the main decorative element of both sets.
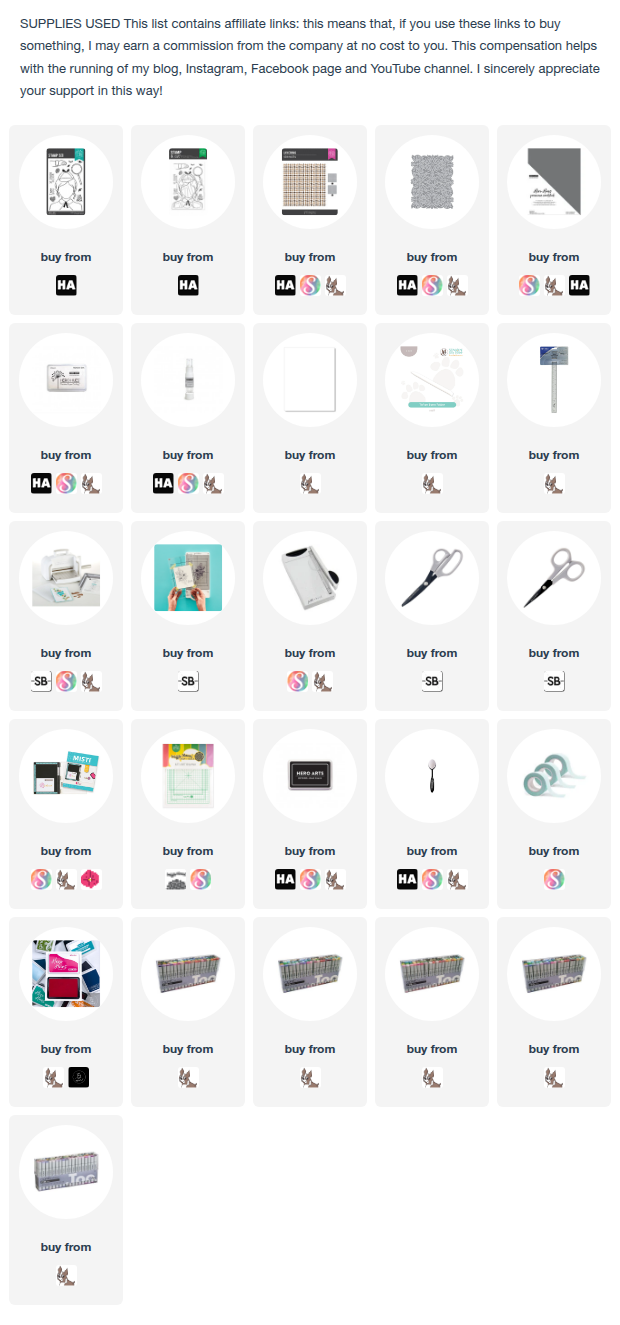
Feminine card set:
I started by stamping the floral bouquet from Lovely Rose Peony, cutting it with the coordinating die and and colouring it with the coordinating stencils. I used pinks for the petals and grey for the leaves.
I cut out the Xs and Os from Hero Arts Peony cardstock and stamped and white embossed the happy birthday sentiment onto Concord & 9th Wildberry cardstock for all 4 cards.
For this card, I used Rose Quartz ink to create texture in the background with the Grid Stencil. I cut a panel of wildberry cardstock and adhered it with foam adhesive, then adhered the XOXO and the happy birthday sentiment to the panel. I cut one of the floral images in half and adhered half above the panel and half below.
For my 2nd card, I cut a triangle of the bottom right side of the card, and adhered some wildberry cardstock to the inside of the card, and stenciled it with white ink. I adhered the floral image over the cut line so that is lines up with the bottom of the card. I cut the XO from both pale pink and wildberry cardstock and layered them, before adhering them and the birthday sentiment over the top.
For card #3, I cut a panel of wildberry cardstock slightly smaller than my card front, and stenciled on it in white ink. I adhered the flowers in the top left, and tucked the XO under the bottom edge of the flowers. I finished by popping the birthday sentiment up and adding some embellishments.
For cards #4, I used four of the flower images to create the background. I cut two nesting rectangles in wildberry and white, and layered the XO and sentiment over the top.
For the packaging, I used an acetate box and decorated it with the flowers and XO from the cards. I chose pale pink and mid pink envelopes to package with the cards, and I created a belly band to keep the box closed with some recycled vellum (I recently bought a new tablet, and inside the box, it was wrapped in some vellum, and there was no way that it was going in the rubbish bin! LOL!)
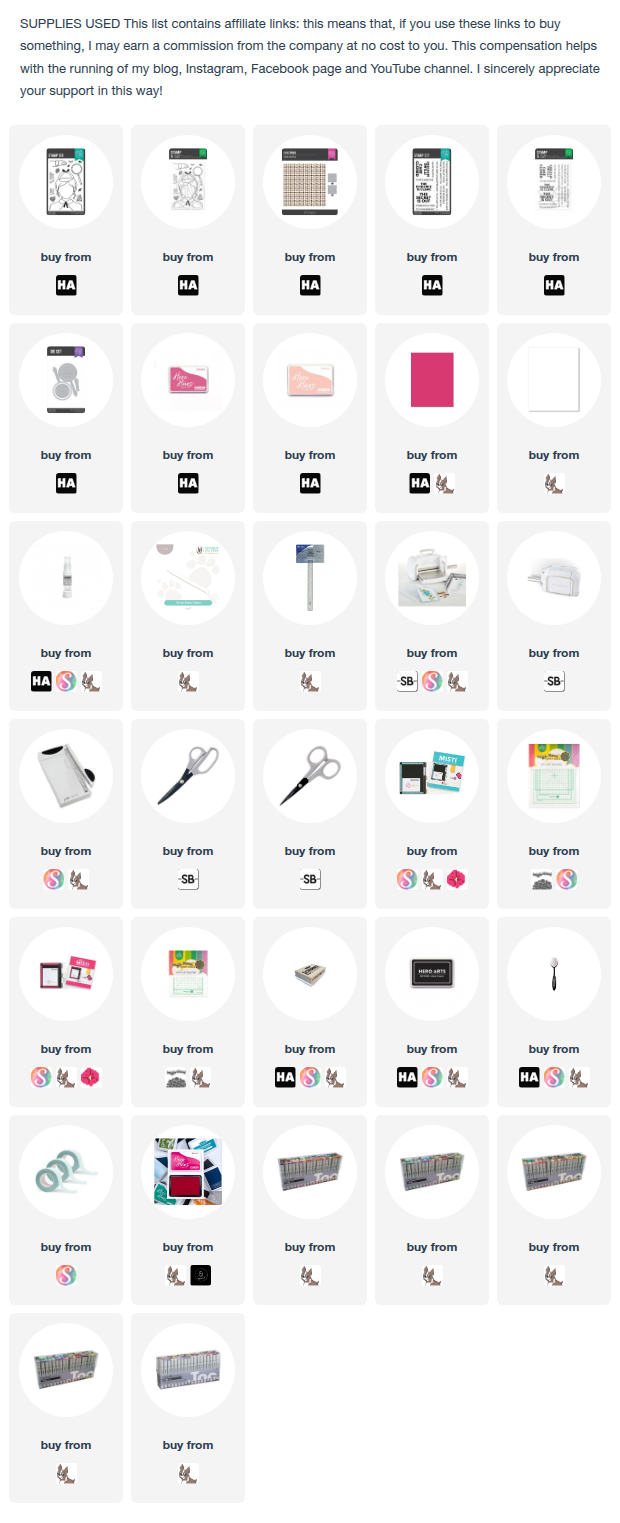
Masculine set:
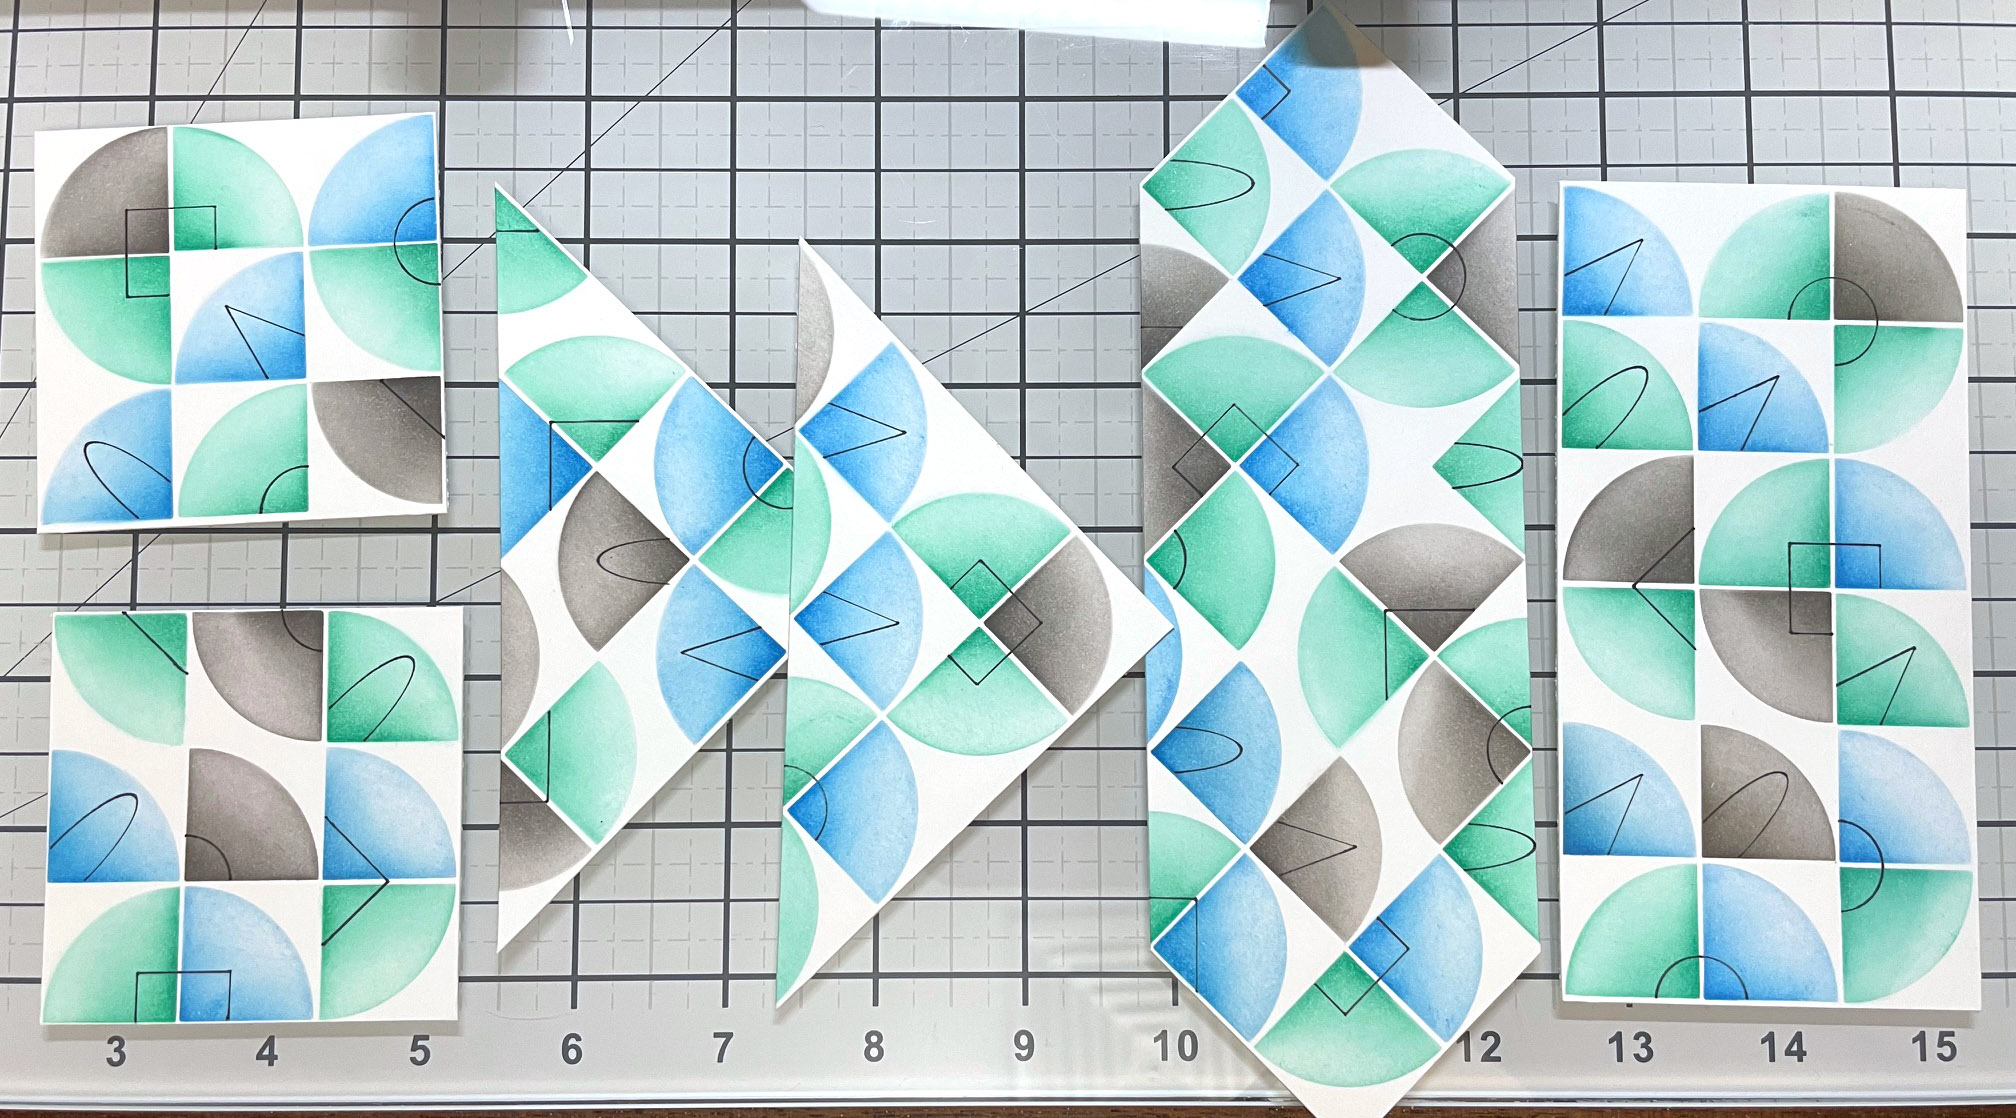
For the masculine cards, I created two stenciled panels using the Modern Circles layering stencils and inks in blue, aqua and grey.
I used a mathomat to create the little doodled extras in the corners of the quarter circles (a mathomat is a tool used in maths classes in Australia for drawing shapes, measuring angles, and general doodling).
I cut the panels into pieces so I could create a variety of cards.
Each of the cards had one or two panels, strips of Azurite cardstock, Xs and Os also from Azurite, and a happy birthday sentiment from Label Love stamped in royal blue ink.
Thanks for visiting :)
