Thursday, 8 January 2015

Ombre embossing paste tutorial

Since I posted my favourite cards of 2014 at the end of December, I've had a few emails from crafters asking me how I did the ombre effect on these two cards:
So I decided to do a photo tutorial! 
Here's what you need - a craft mat to work on, cardstock, a stencil (I used the Rain Dance Pattern Stencil from Hero Arts), some tape to keep the stencil in place, Faber Castell / Design Memory Craft Gelatos (I used Raspberry, Red Cherry and Watermelon), embossing paste (mine is from Wendy Vecchi) and a palette knife (not essential, but helpful)
 Start by slicing off a little bit of each of your chosen Gelatos:
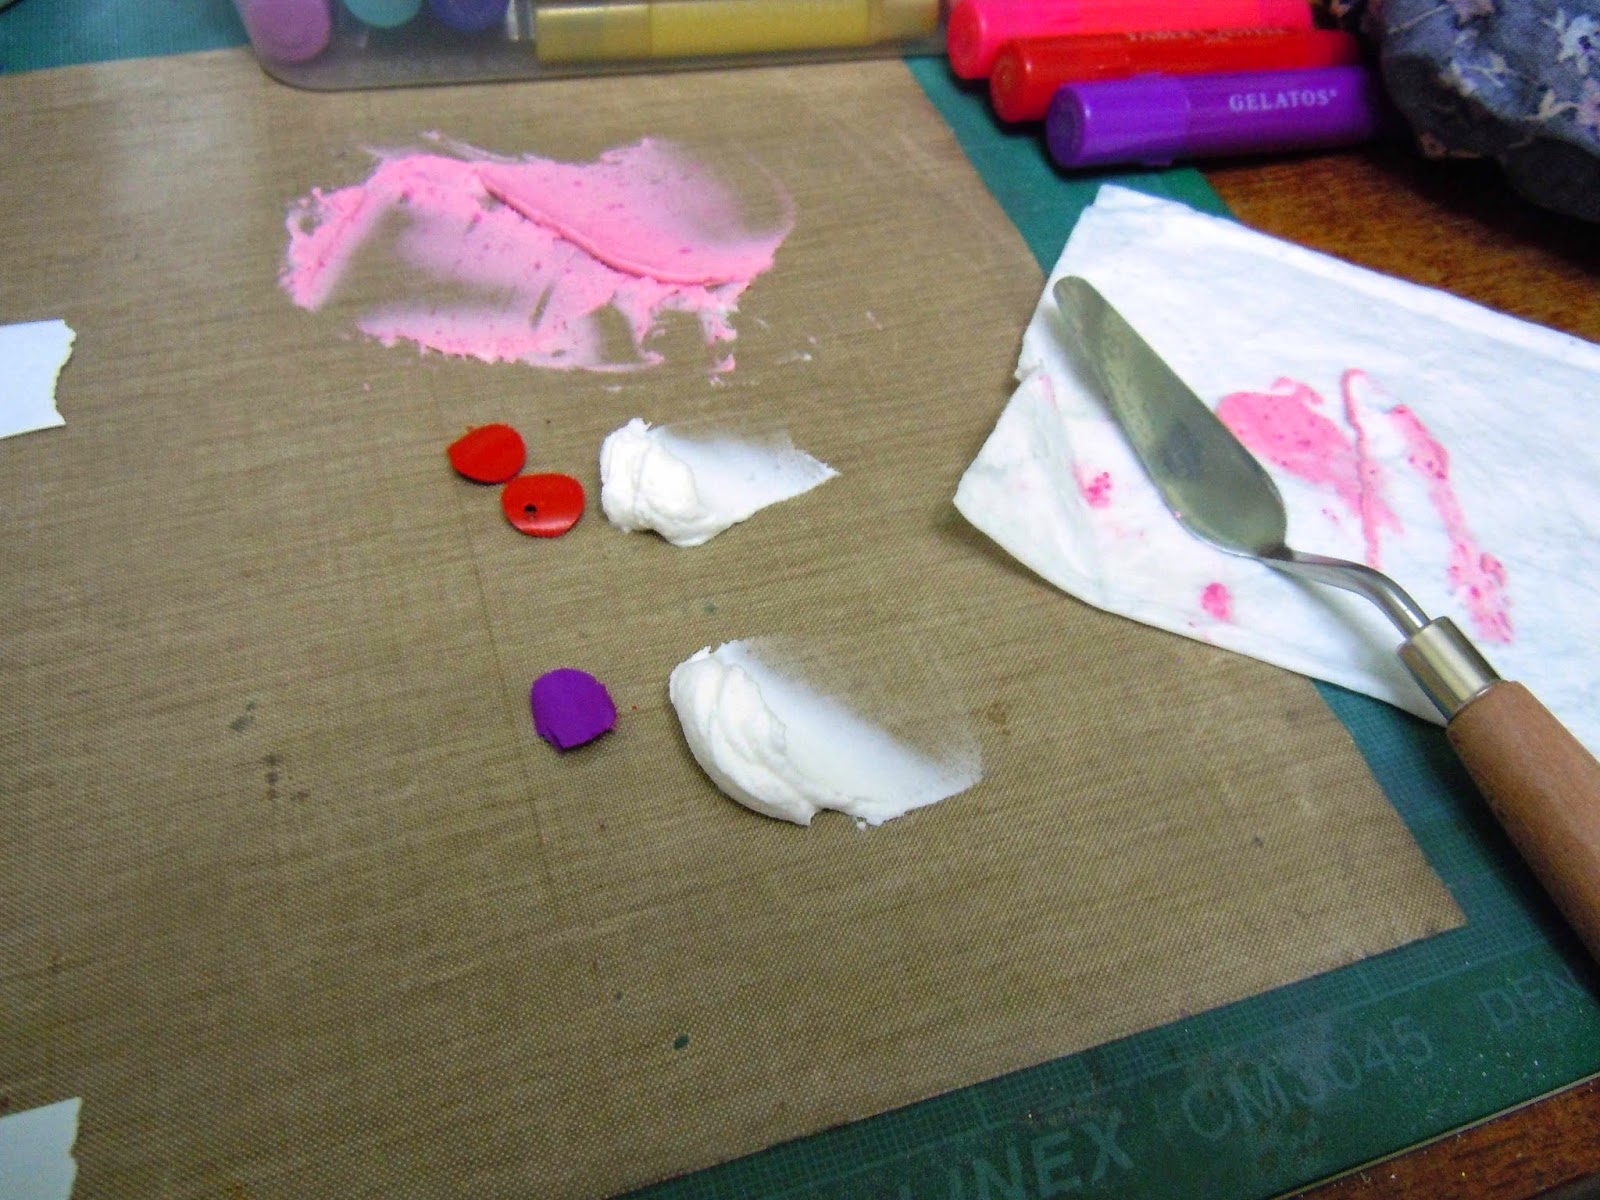
Then, put a small amount of embossing paste next to each colour, (not a heap, because it dries out quite quickly, and you don't want to waste it!) and mash them together: 
 Once the palest colour is ready, put it straight onto the stencil and spread out.  Even though I have 3 colours, I covered more than half of the stencil area with the palest colour, which will allow me to blend the colours later:
 Always keep a baby wipe or damp cloth handy to clean the palette knife between colours:
 Continue with the middle colour and then the darkest, overlapping them a bit as you go:
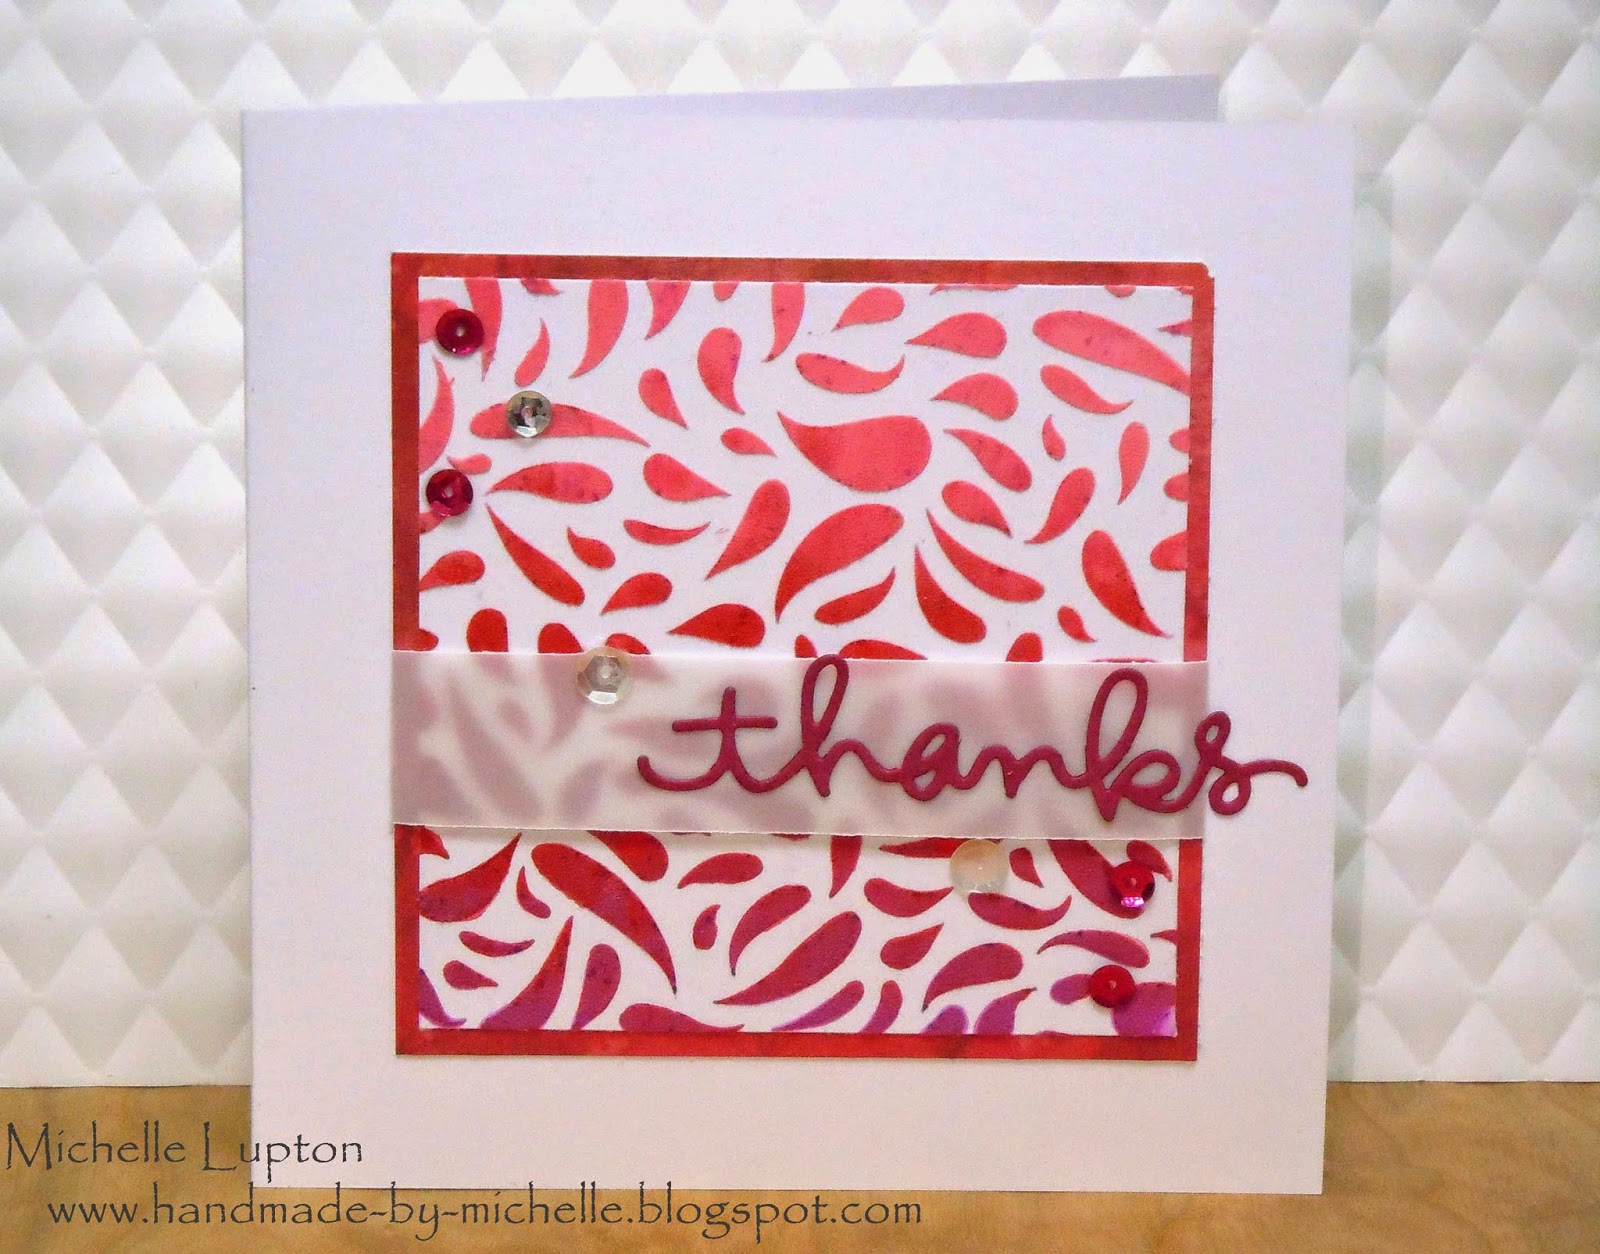
Once all three colours are on the stencil, scrape off any excess, which will allow some blending between the colours.  Remove the stencil and wash in under warm water IMMEDIATELY, or the embossing paste will dry and be almost impossible to remove (ask me how I know!). Leave the cardstock to dry completely before using your textured, ombre panel on a card - here's mine:
I cut the panel down to square and matted it onto some patterned paper from my stash.  I then wrapped a strip of vellum around the panel, and adhered the word "thanks", which I'd cut from some cardstock in a colour that matched the darker colour in the ombre, using a die from Simon Says Stamp.  I adhered the panel to a square card base, and added some sequins for a finishing touch.
I will be submitting this card to Simon Says Stamp's "Something New" challenge - as a couple of the Gelato colours I used today are new - today was their first use!

http://www.simonsaysstampblog.com/wednesdaychallenge/simon-says-something-new/
I'll also be sharing this at Runway Inspired Challenge, as it incorporates pink, ombre and bling!

http://runwayinspired.blogspot.com.au/2015/01/ric75-ralph-lauren.html

I hope you found this tutorial useful - thanks so much for visiting, and thanks also for all your lovely comments - I really appreciate them!

One Layer birthday card

Another one layer card to share with you today. 


 I'll be sharing this at Virginia's View for her Clean Slate Challenge.

http://virginiasviewchallenge.blogspot.com.au/2015/01/virginias-view-challenge-11-clean-slate.html
Thanks for visiting :)

Saturday, 3 January 2015

CAS-ual Fridays Challenge 135

Welcome to the first CAS-ual Fridays challenge for 2015! Michele has some fabulous challenges in store for you this year, and we're starting off with a good one! 
Here's what I came up with:
I don't often use felt, and I don't have very many sequins (to tell you the truth, I've never bought sequins for cardmaking - the ones I use have either been given to me as a gift, or have come as a freebie with a stamp purchase!) But I managed to find some blue adhesive-backed felt pieces big enough for diecutting, and some clear sequins in my stash (yes, there is an up-side to never throwing anything away! LOL!)

 I used CAS-ual Fridays 4 Petal Set Fri-DiesChristmas Carols stamp set, and Wonderful Words stamp set. The butterfly bodies are cut down to be smaller from a Memory Box die called "Moonlight butterfly".

Make sure you drop on over to CAS-ual Fridays to check out what the rest of the design team has come up with, and join in with the fun!
 Thanks for visiting :)

Friday, 2 January 2015

I'm back at A Blog Named Hero!!

I can't tell you how excited I was when Linda and Lisa at A Blog Named Hero asked me to stick around with their new Design Team for 2015! (jumping up and down and dancing was involved. As was a message to Linda a few days later to make sure I wasn't dreaming!)

Here's my card, expressing how I feel about all this (except I'm so much more excited than this card looks!)


To welcome the new members of the Design Team, we're spending all this week on introductions.  Linda, Lisa and I are sharing today, so make sure you drop on over to A Blog Named Hero to check out their projects, as well as to find out some exciting changes that will be happening on the challenge blog. You'll be very happy to know that we're still having challenges (yay!), and we'll still have prizes from the amazingly generous Simon Says Stamp! 
 Thanks for visiting :)

Fusion Birthday celebration!

Happy birthday, Fusion!  It is one year since Fusion was re-booted in its current format, and we're having a birthday celebration!  Each of the design team at Fusion has invited a guest to join us for this challenge, so you have twice the inspiration!

First up, here's my take on the inspiration photo - I took just one element from the photo (the pink and white flags sitting in the pink jar) and based my card on them. 

My guest today is the incomparable Iwona Palamountain (AKA Chupa)!
I love Chupa's ability to do complex layered designs with ease, and then she will do a one layer card to knock your socks off!  Her card for today's post is just perfection! (I wish I had her talent for layering!), but you'll have to visit the Fusion blog to see it!!  Please also check out her blog, "Random Acts of Creativity", and leave her some love :)
http://fusioncardchallenge.blogspot.com.au/

Thanks for visiting :)