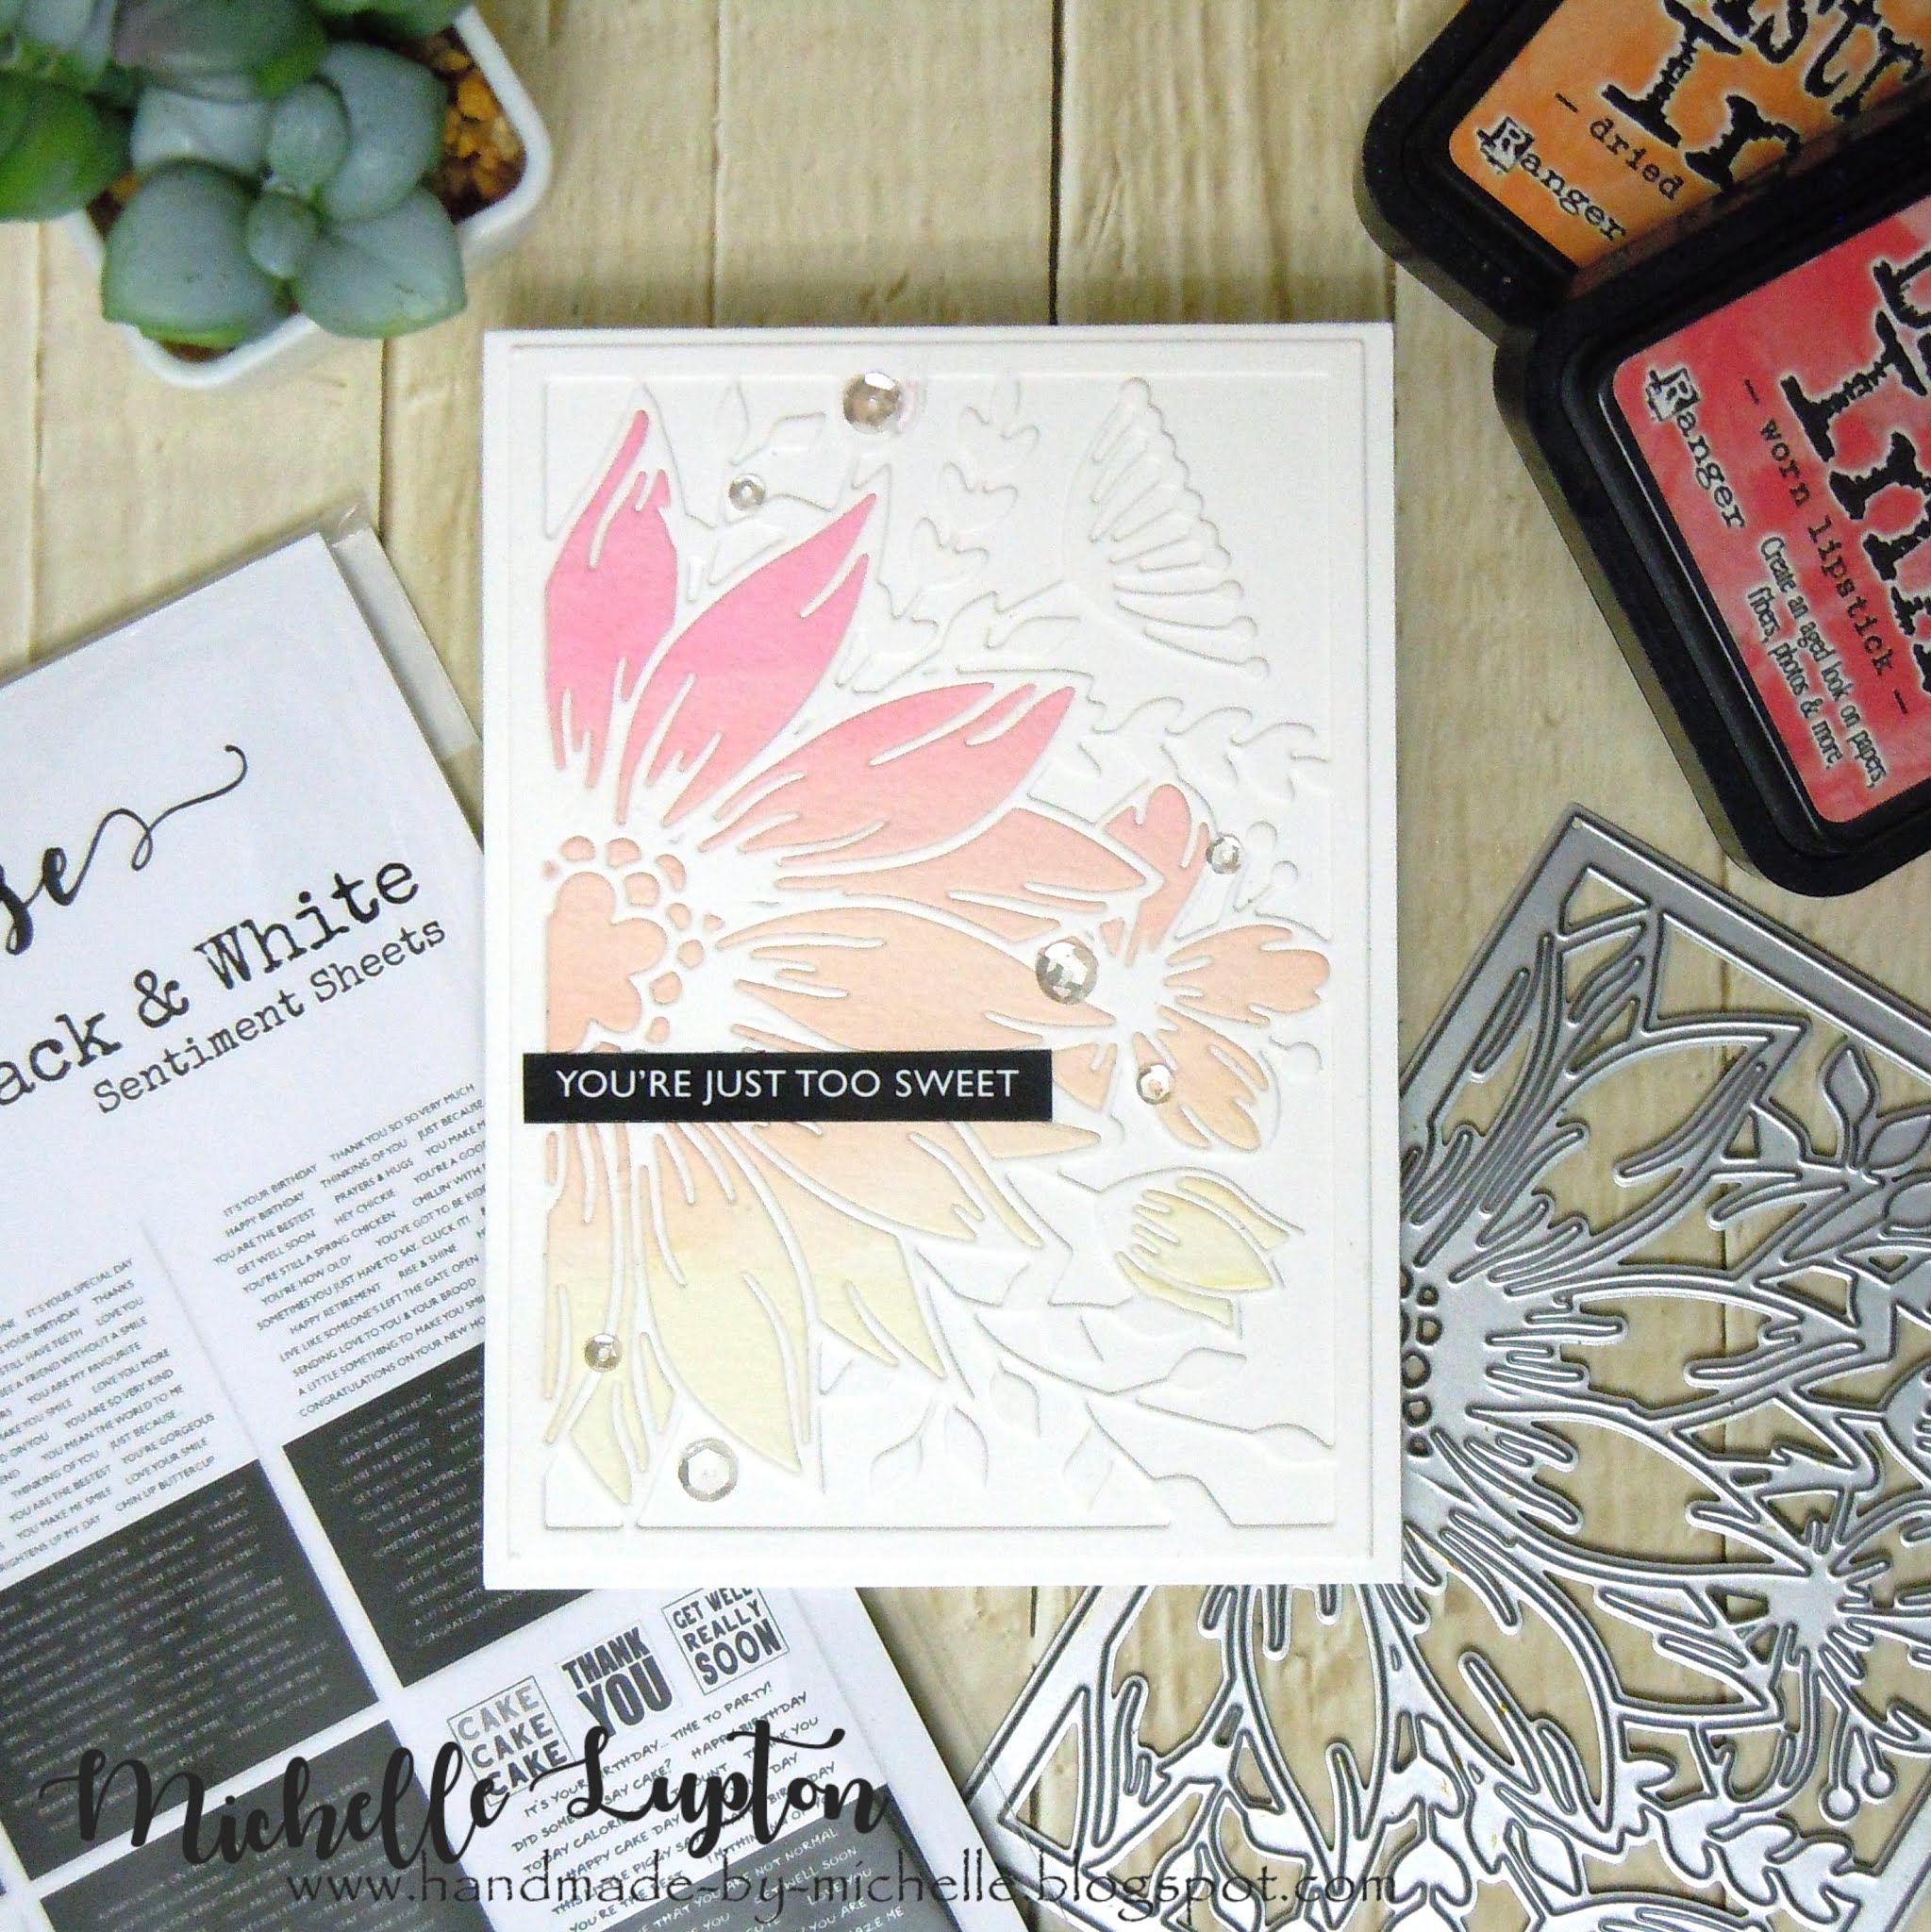
I first created a panel of watercolour paper with a very soft ombre wash of pink and pale orange watercolour (I used Distress Inks as watercolours). I cut it with the Blooming Flowers Background die, and also cut a piece of white cardstock with the same die. I adhered the white die onto a white card front, and chose some pieces of the floral images from the watercolour panel and adhered them in place into the main panel. I added a sentiment from Black and White Sentiments and some clear sequins.
After making the first card, I had the leftover piece of watercolour panel, so I made another card to keep my first card company!


Michelle, these cards are delightful! Love the soft ombre wash you used - just beautiful!
ReplyDeleteD.xx
Absolutely love these. Must ask though - how long did they take, and is there a trick to adhering the layers? I have just spent the best part of 2 hours on them and only have the 'jigsaw' one completed. Using PVA glue in a fine-tip bottle. I did make life more difficult by adding a second layer for added dimension. Silly me! Am going to try and get some large pieces of double-sided adhesive paper for next attempt. Thank you for the inspiration!
ReplyDeleteI try to keep the pieces together when I die-cut them, and then it's just like a jigsaw puzzle. I don't use a sheet of double-sided adhesive (too expensive)- just liquid adhesive (linked in the post above) and I add it to the space on the card instead of on the piece I'm adding - I find I get less glue oozing out the sides that way.
DeleteThank you! Love the beautiful card you made! I purchase the blooming flower needed inspiration! God Bless
ReplyDelete